Every year, Retroplane is also the good occasion to see good old friends, exchanging ideas, tips, and also see what's new in the glider world.
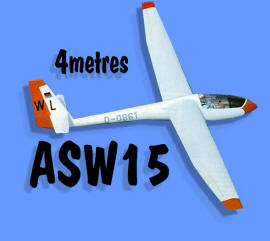
Bernard, every year, bring a home brewed 4Metres ASW15, and God, we all envy him ! Ok, Bernard is one of the best pilot I have ever seen, and the ASW15 was one of my must have glider !
So, in 2008, I asked him if it was possible for him to make one for me...And guess what... He said yes ! Oh joy ! I'm going to have my own asw15 "Bernard Special" !
The kit consist of a Moulded Fuselage, canopy, canopy frame, a pair of elevator, already made, a pair of magnificent wings, and because that was for me, Bernard added a few extras, like a moulded rudder, wing joiner, formers, and elevator bell crank.
A bit of work left to do, but totally worth it, and I have to say that the job done is absolutely perfect !
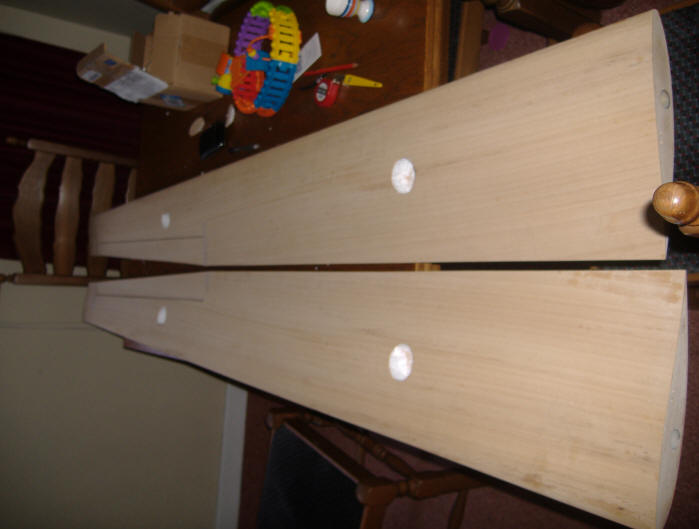
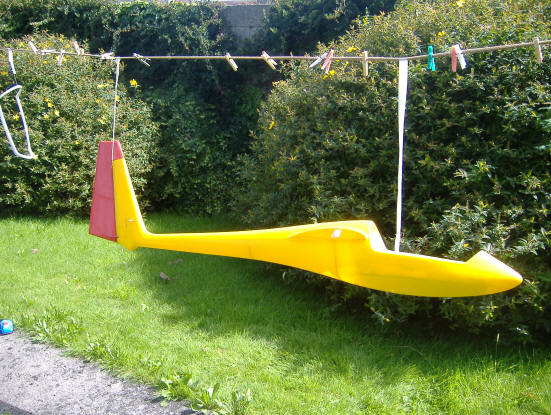
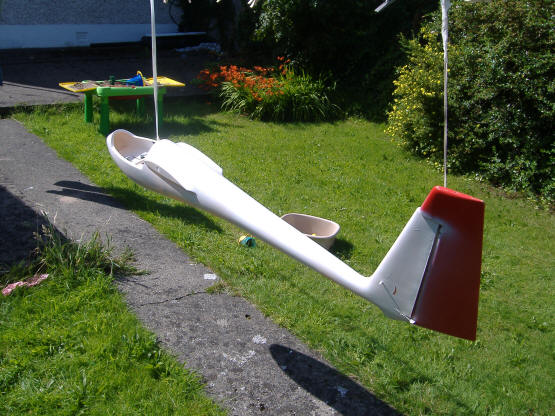
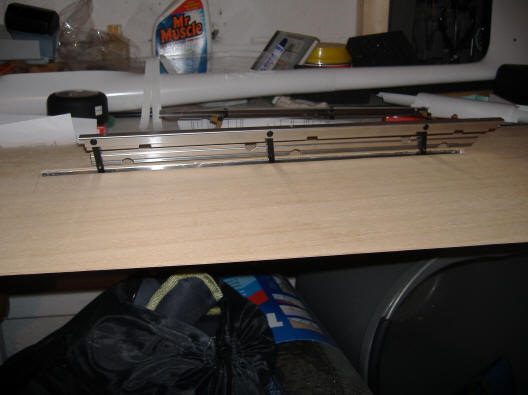
A quick view of the glider / Kit :
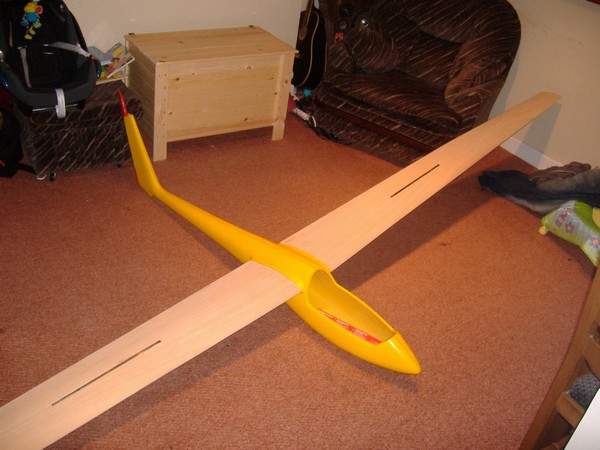

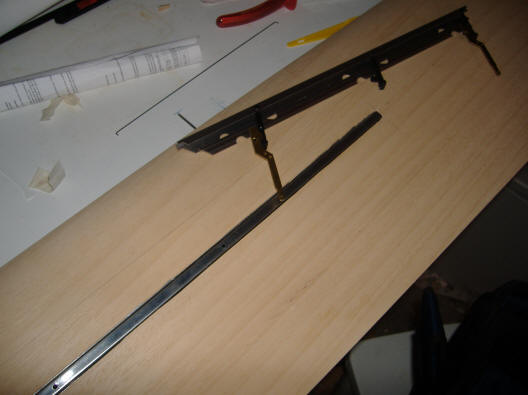
The work started on the wings...
Only things to do, is to cut the holes for the servos. 4 needed for the airbrakes and ailerons.
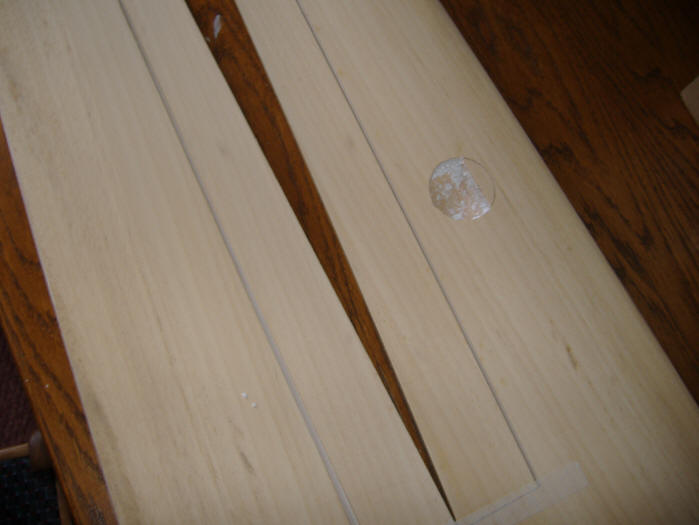
Ailerons - Before - After (round servo hole half cut here, because of the spar)
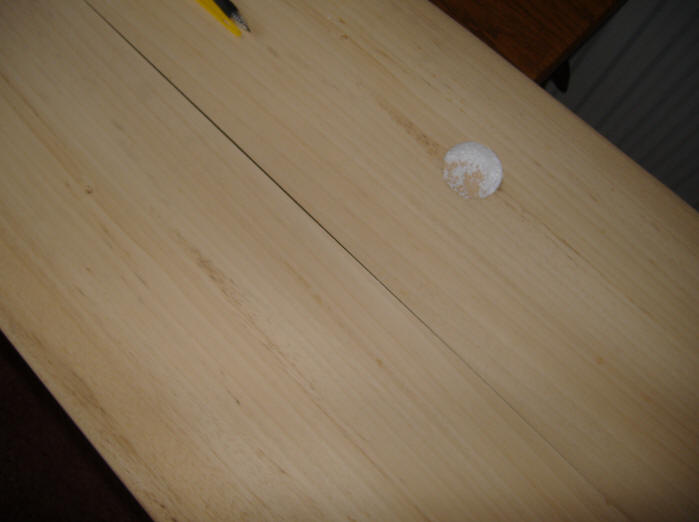
Airbrakes - Before - After
Et voila, job done ! You only have to run the servos wires, and glue the servos...
That's for the servos. Need to go back to the wings later to install the airbrakes. Bernard installed the airbrakes frames in the wings, you will need to assemble the top now and of course connect the servos.
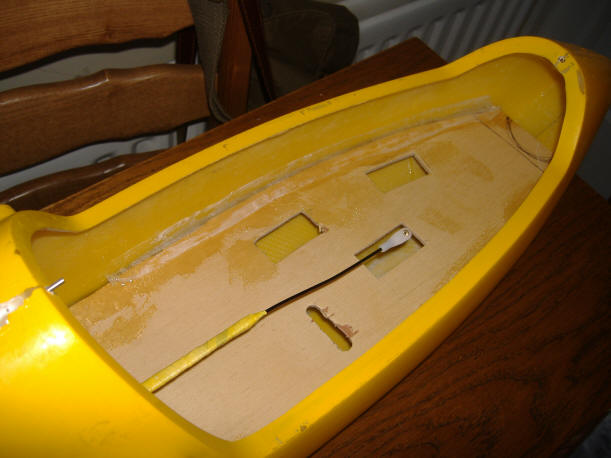
Back to the fuselage, where I glued the 2 formers and the back anti-crushing plate. This is mad how the 2 formers add as rigidity on the fuselage !
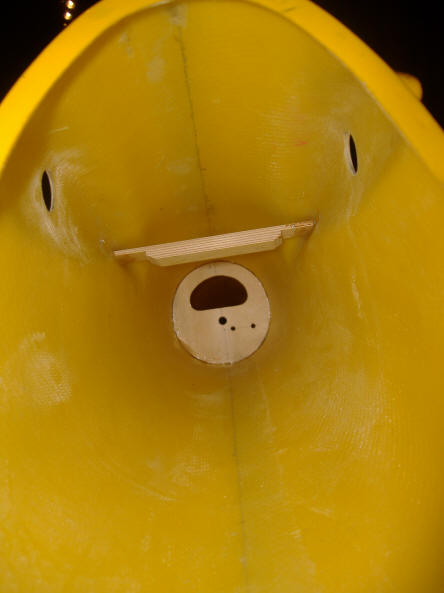
One former is missing on the photo, the one just after the wing joiner holes. The wing joiner by the way, is of the floating type, no tube on the fuselage. The wing joiner is a big strong AU4D tube...
Back to the tail, and bell crank is installed for the elevators :
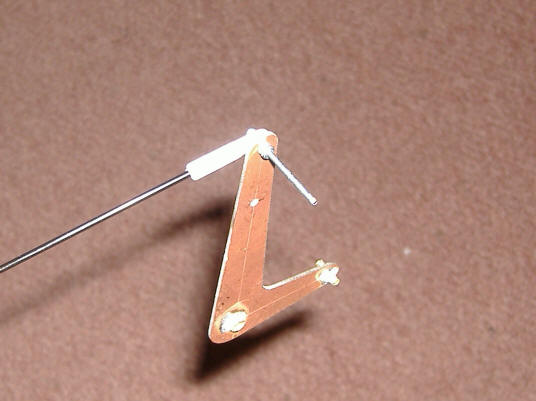

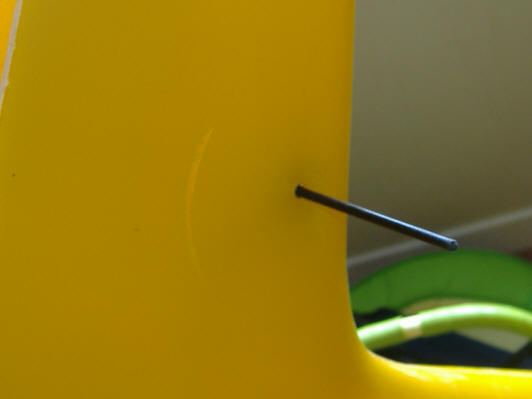
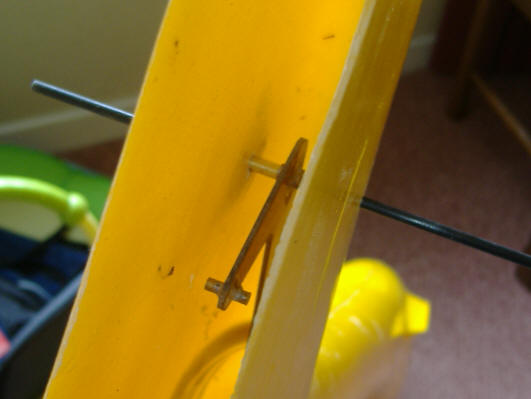
The link for the bell crank is made of 6mm carbon tube. The marks to open the rudder are made using the bell crank itself to have it done really accurately. Well, basic work here...
Servo tray in the front is then epoxyed in place. and servos screwed in place after a bit of white paint all over the place. All this will then be hidden...

It's a digital 10kg for the elevator, a 7 kg for the tow hook and rudder. Rudder is commanded by a push/pull system using 0.2mm steel cable (that won't break !)
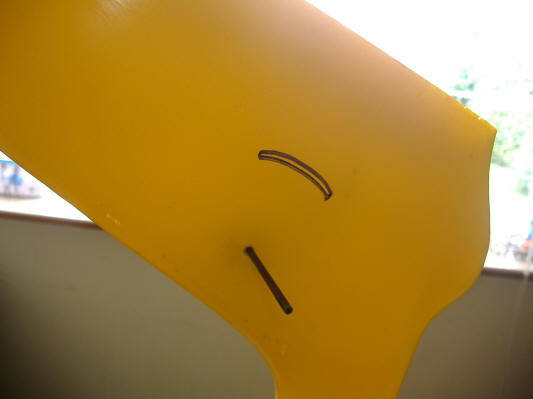
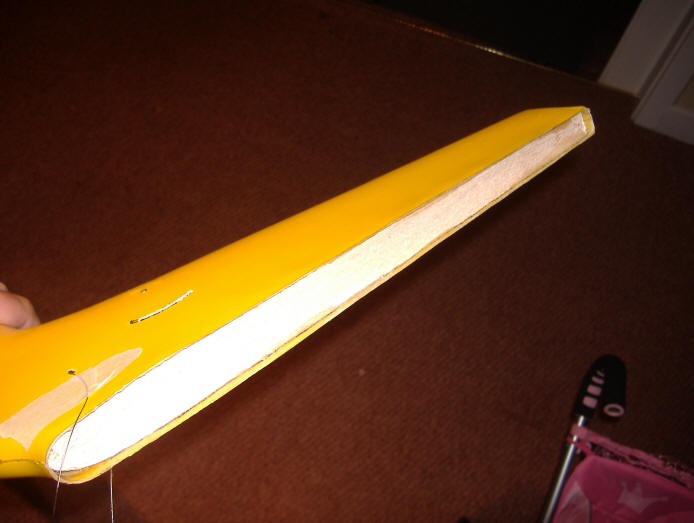
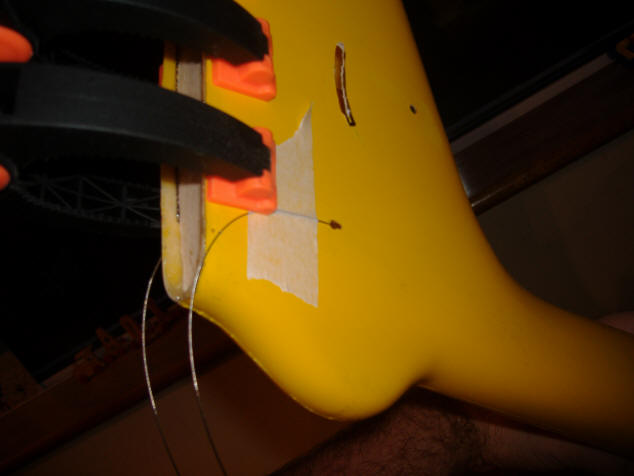
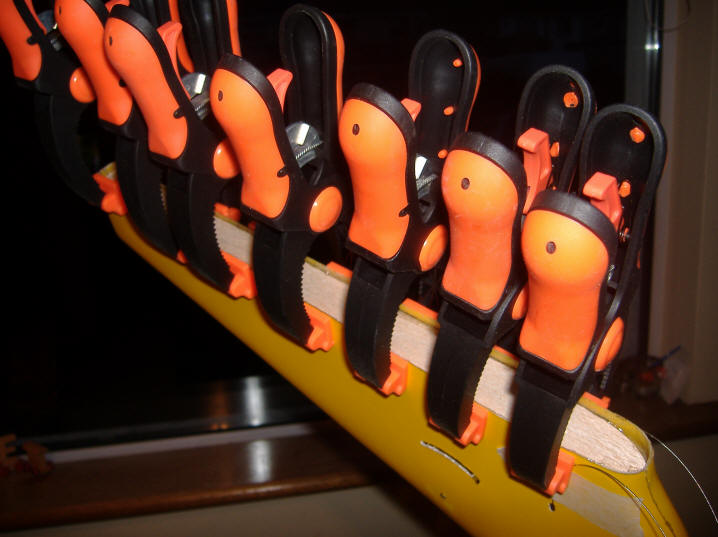
Then, back to the tail, with the rudder. I have closed the rudder with a piece of 10mm hard balsa. For some reasons, I always use hard balsa to close the rudders of my models, instead of plywood.. Break clean in case of crash, and really really easy to fix ! Just in case... ;o)
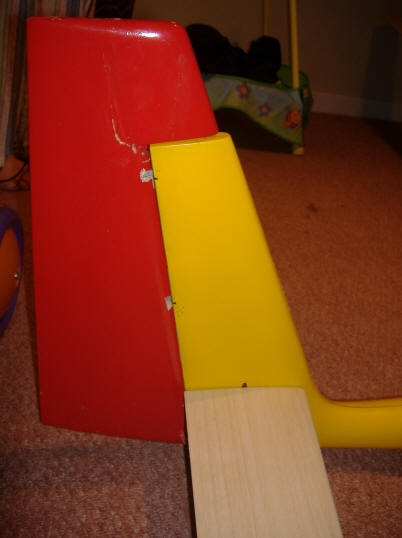
Finally, for the fuselage, I painted it white, as I want a scaleish model...
27/08/09 Update :
A quick view of the airbrakes... Nothing to say here really. You can see the disassembled airbrake, then mounted.
The y are 37cm blades... Must be more than enough ! ;o)
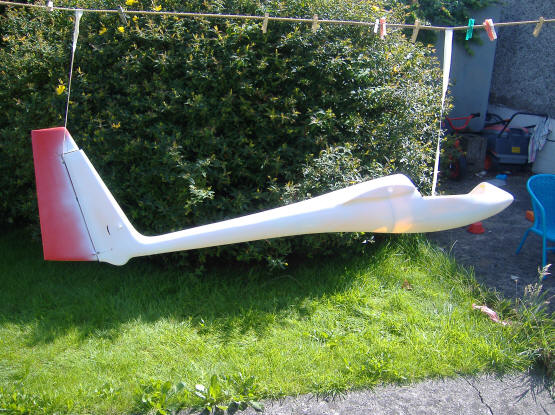
And Flying now ! :)
First flight was a non event on a light wind at Mount Leinster. Flew straight from the start, no trim change! Great !
Flew it several times now, and this is definitively a great machine ! Love it!
Video is HERE (4Mb)