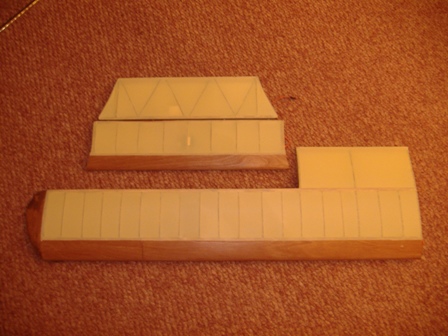
Here is explained by images a very simple method to cover vintage sailplanes when the wings have varnished leading edges in plywood. The original way to do it come from M. Owlhein, but here is an updated one.
First of all, I put 1 or 2 (or more.. that depend of the original subject, and the color you need on the model) layer of varnish on the plywood, but also on the ribs, spars and so on... Before that, make sure that what you are using for covering your model (solartex "antique" in my case) is fully compatible with your varnish !
I prefer covering all the wood with varnish before covering, as the covering material will allow you to see all the wood and so on by transparency.
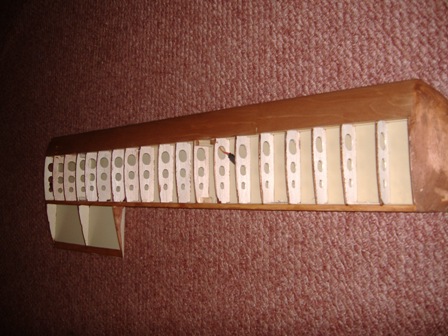
Then, you use paper masking tape and you tape your wing where the junction plywood / covering should be. In my case, that#s around 5mm from the spar :
Now, you cut your covering to fit the wing (as usual..) and you put the material on top of the masking tape :
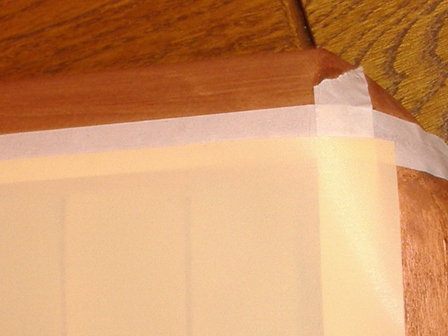
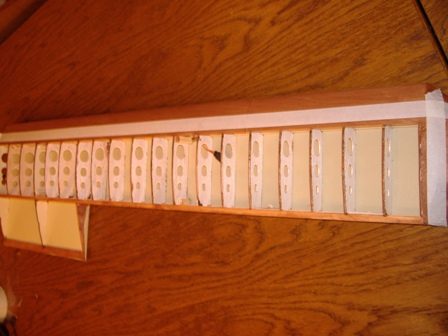
Then, with your Iron, you can start to cover your wing as usual, but you just have to be sure that where the covering is on the plywood, to insist a bit more to be sure you have glued it perfectly. The other advantage of putting the varnish first, is that you can perfectly see what you are doing ! You can see the small bubble and so on...
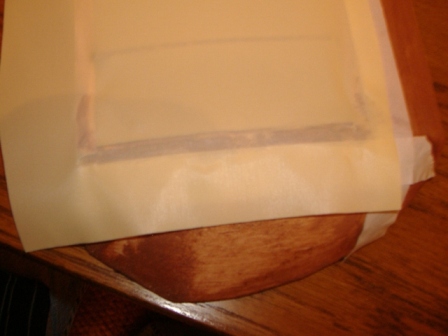
Then, well, it's just a classic job of covering a wing. Don't forget to insist with your iron on the covering/ plywood junction !
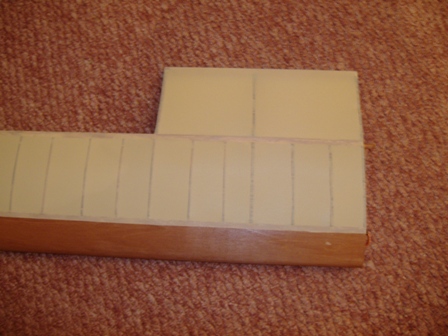
You can see under the covering, the tape doing a nice straight line.
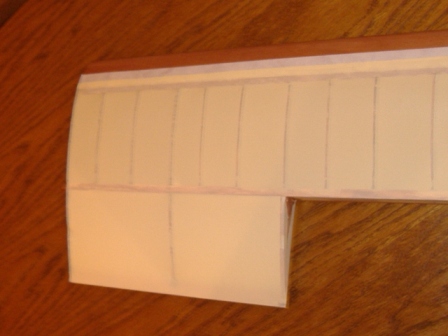
Now, take a razor blade, and cut the covering, using the tape as a guide :
And that's it !
Easy !
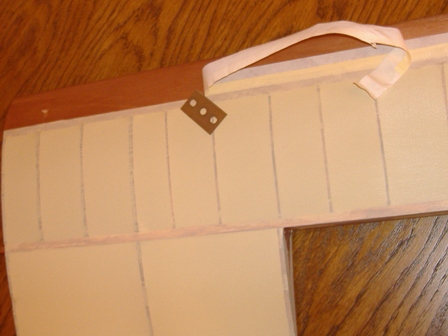
And you can do the same for all parts of the glider that need this technique :