
After the crash of my Formosa during a flying session at Retroplane 2008 (OOooppsss... Thanks Erwan! ;o)) ) I had all the electronic left (did not wanted to repair the Formosa... A great model by the way...) and nothing to do with it...
I saw one day, that GWS were doing a bunch of warbirds, a bit bigger than the usual for them, and even more, in EPO (Like the MPX Elapor)!
And all that, at an attractive price too ! Sold!
After spending a bit of the hard earned cash, a box arrived home !
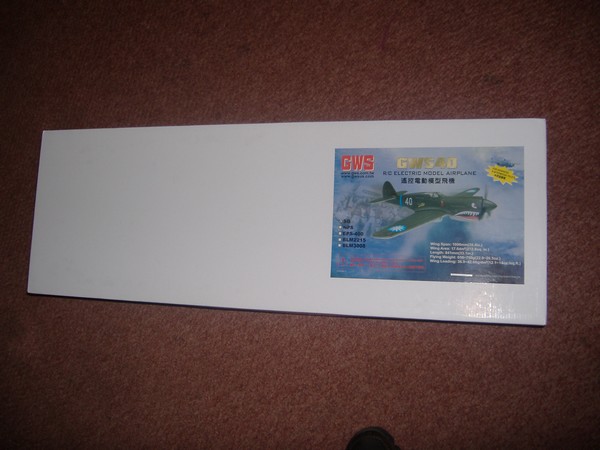
And the content :
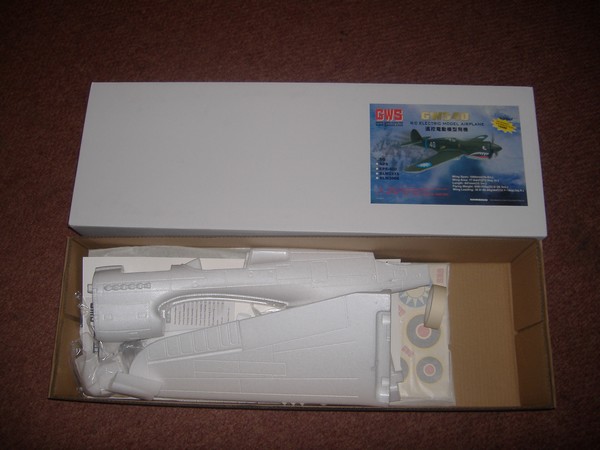
This is the SG version (for slope...) No motor, landing gears etc etc... Great!
Fuselage in 2 haves. Good quality, and all fit perfectly !
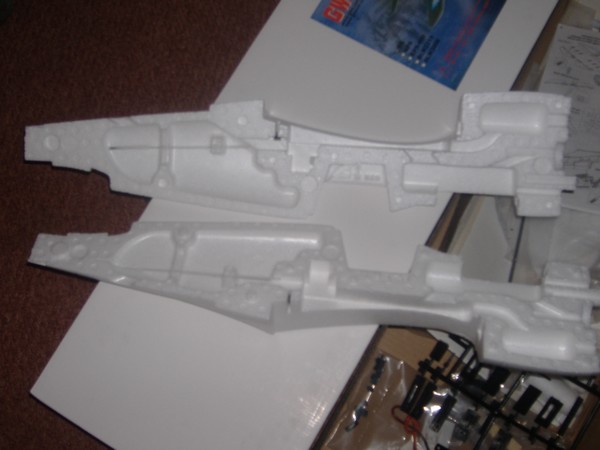
And after 2 minutes, a first quick look at the machine :
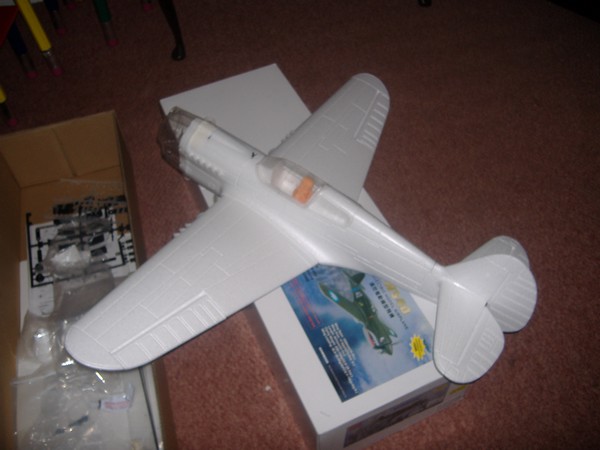
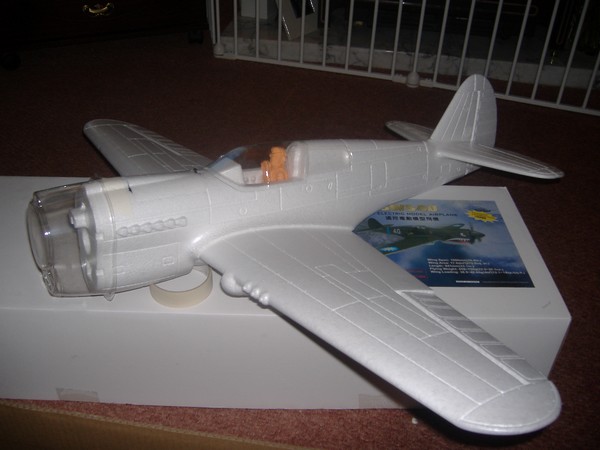
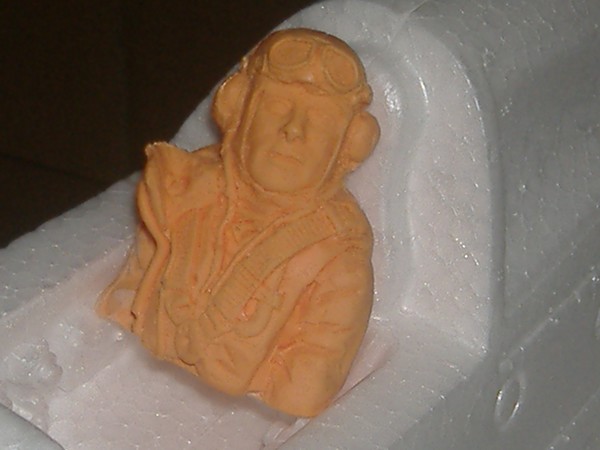
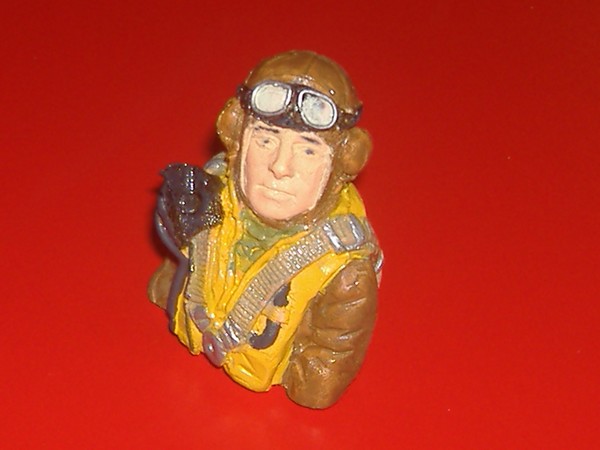
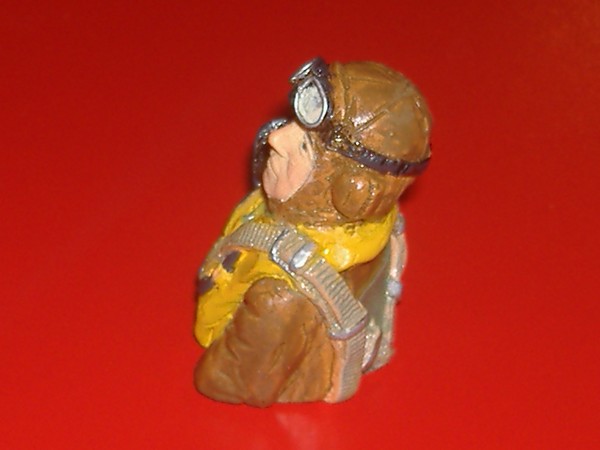
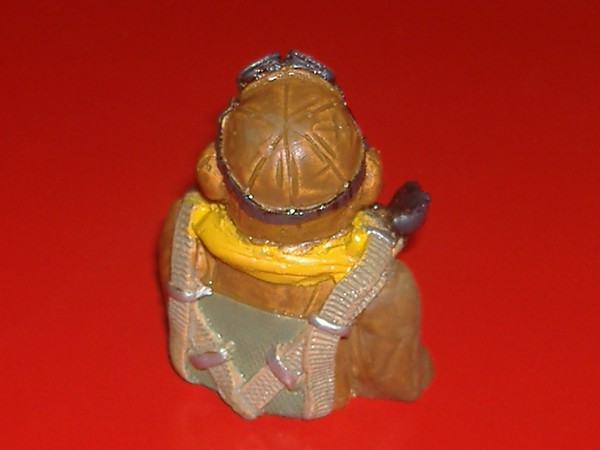
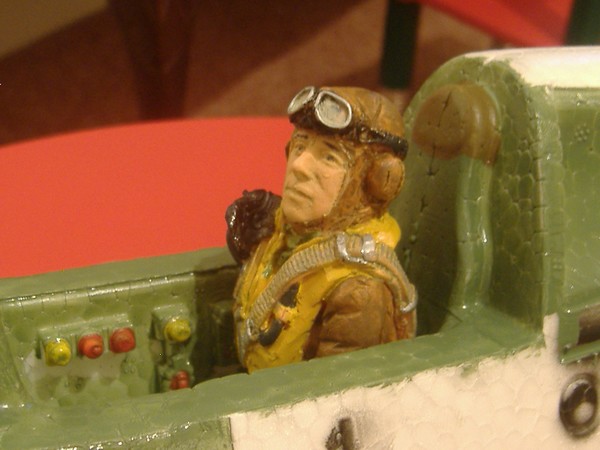
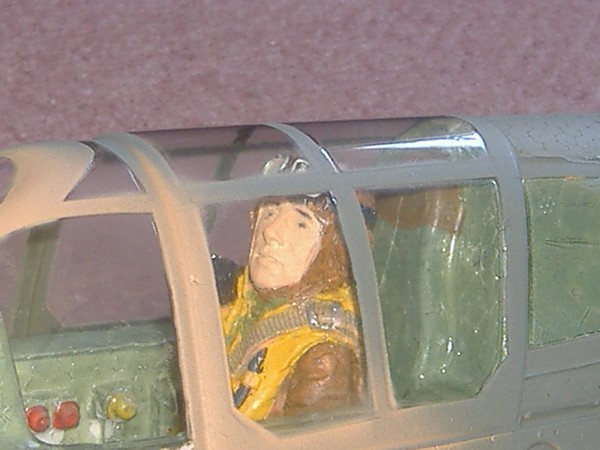
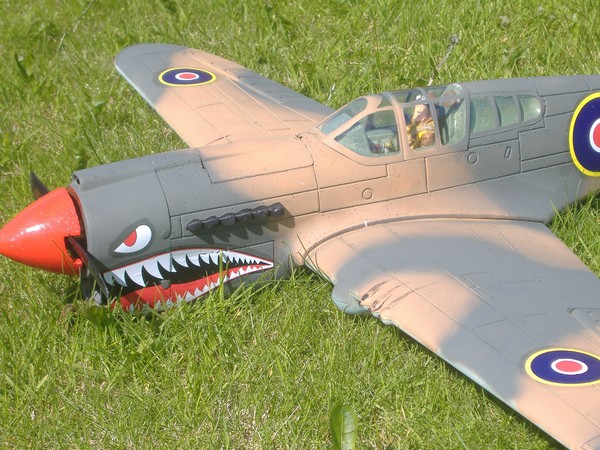
The pilot, is from Pete's Pilot. Very light, and great details!!
Building is a non event, the kit is a big leap compared to the standard foam ones from GWS. Everything fits perfectly. Everything is glued using the GWS glue, Cyano and a bit of epoxy...
The most interesting part is the finishing in this type of models, as the building is pretty boring (like a bit plastic kit, switch the brain off, glue A to B... ;o) )
I am now equipped with a compressor and an airbrush, so that was the perfect subject to play with my new toys!
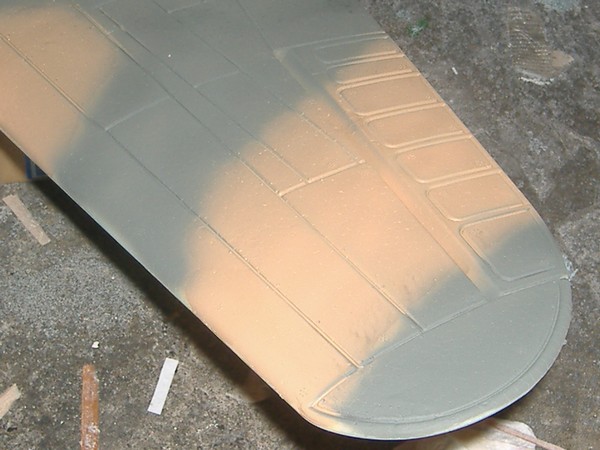
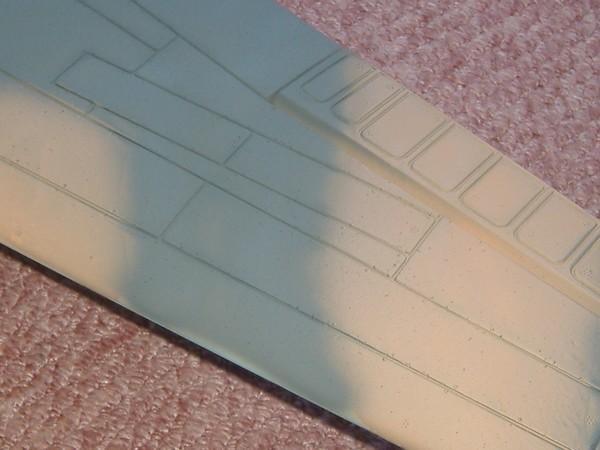
First, I did some pre-shadowing on the entire structure of the plane using Matt Black (by the way, all the colours are little scale models paint...)
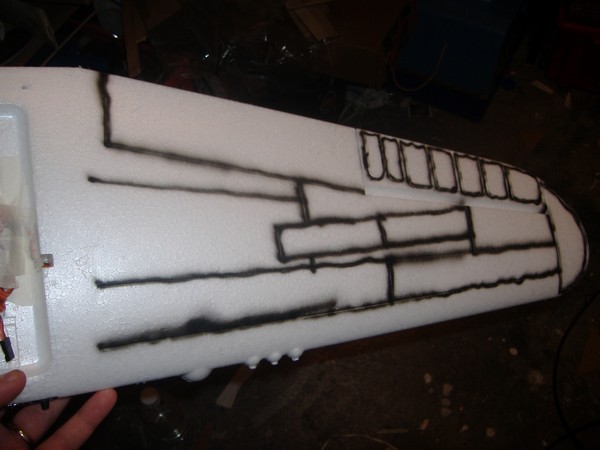
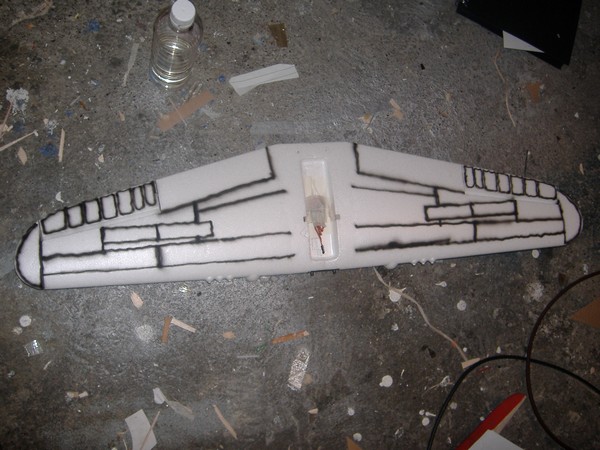
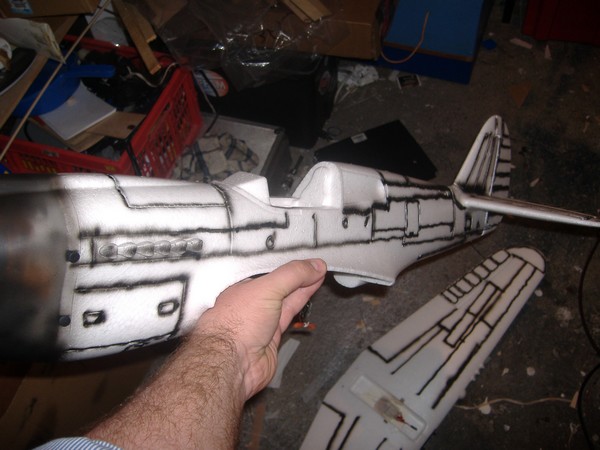
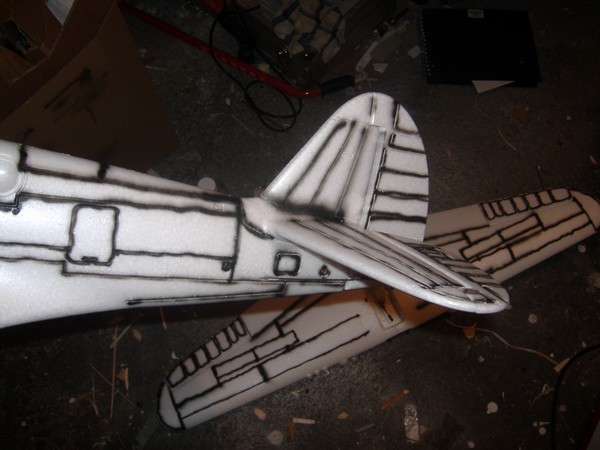
Looks ugly, but that's totally on purpose ! Don't try to have that neatly done or that will look too clean at the end. Just spray well into the structure lines "widely"...
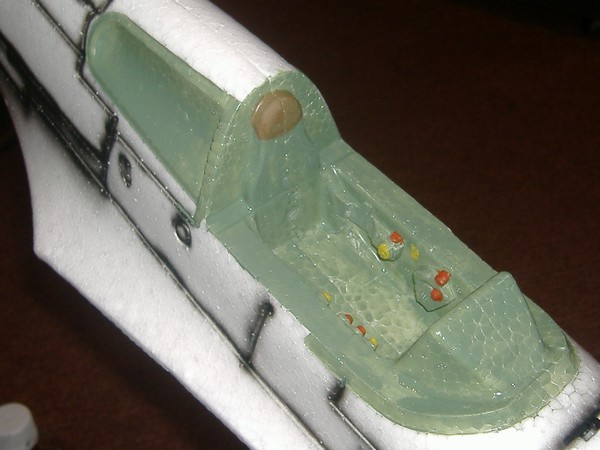
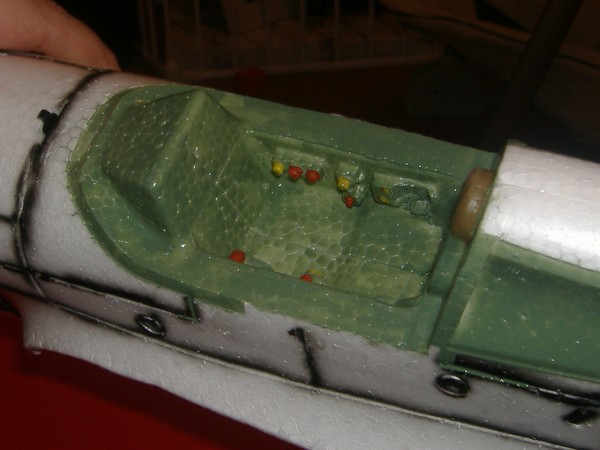
Then, the cockpit interior is painted. A simple sticker will do the job for the instrument panel...
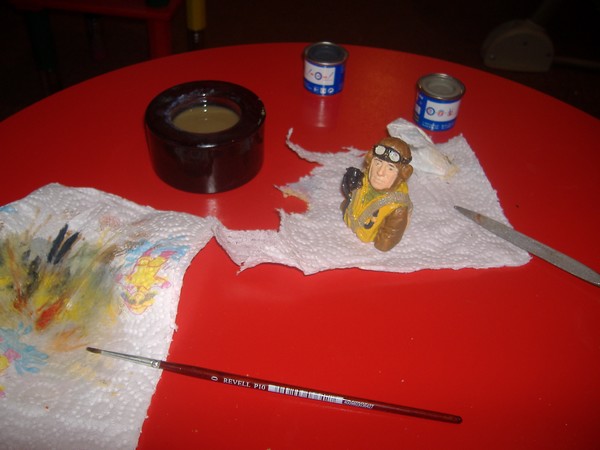
Time to paint the pilot now ! Lots of fun... And a lot of time! 2h30 to get it finished... But really pleased with the finished product. The secret here, is not to over do it and use the brush very lightly to have a sort of wash finish
and realistic contours... Well, that was the plan anyway !
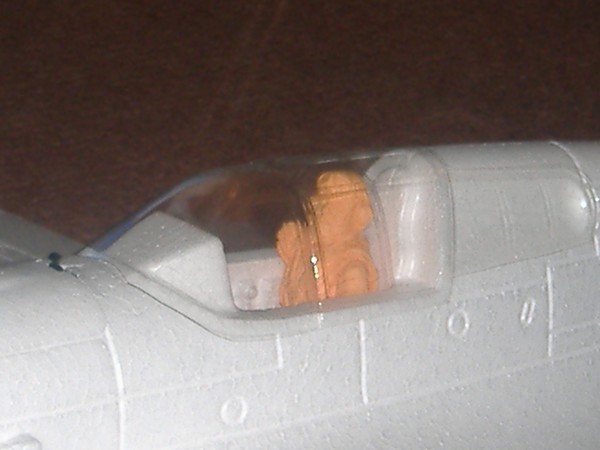
And then glued in the cockpit....
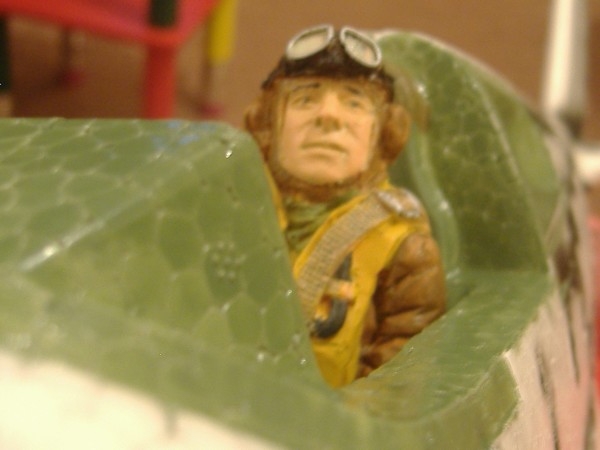
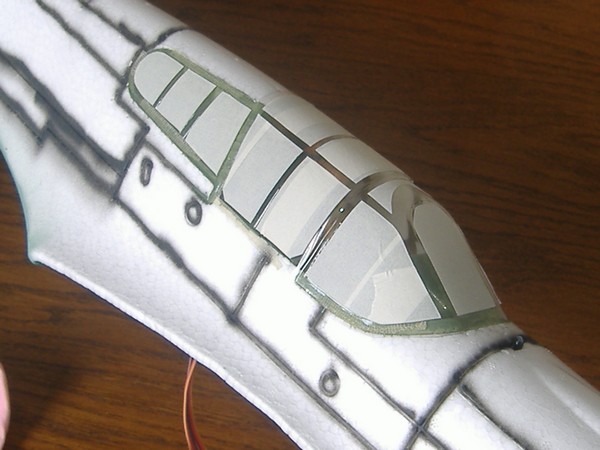
The canopy is then glued in place (double sided tape...) and masked, ready for painting!
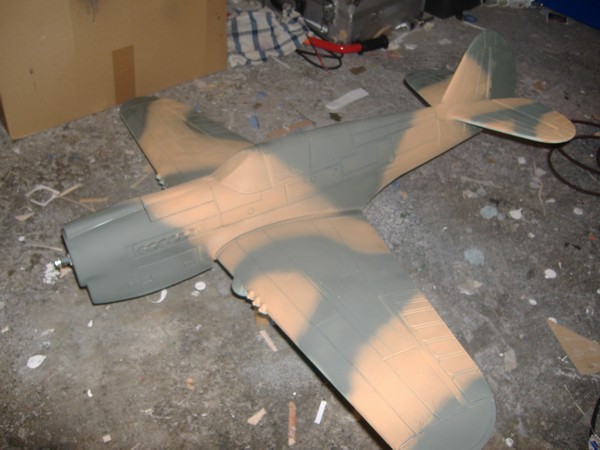
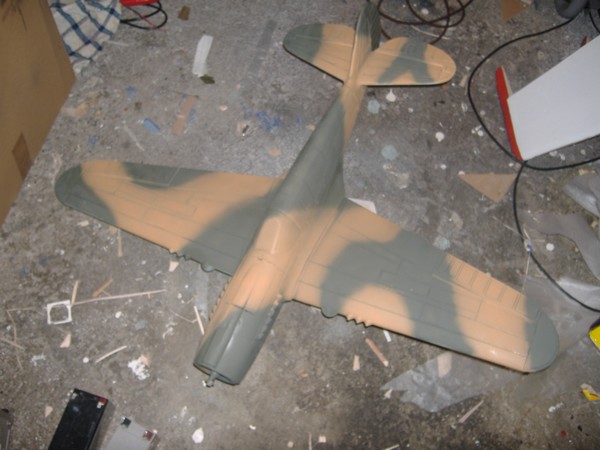
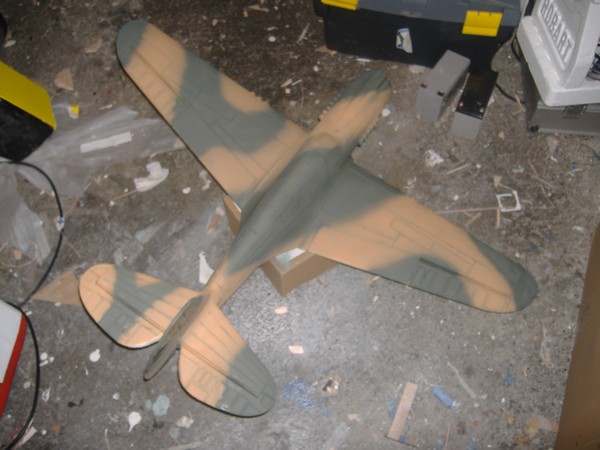
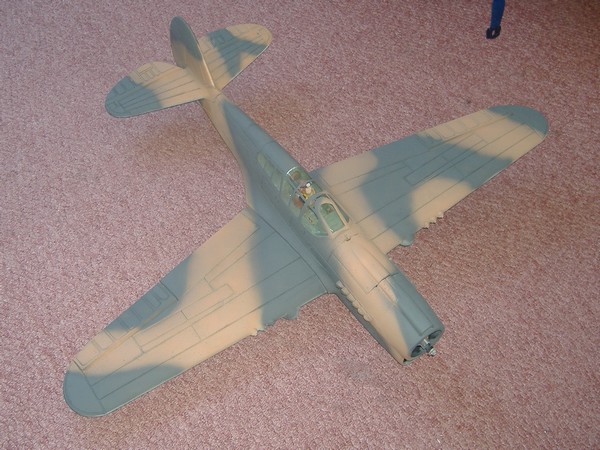
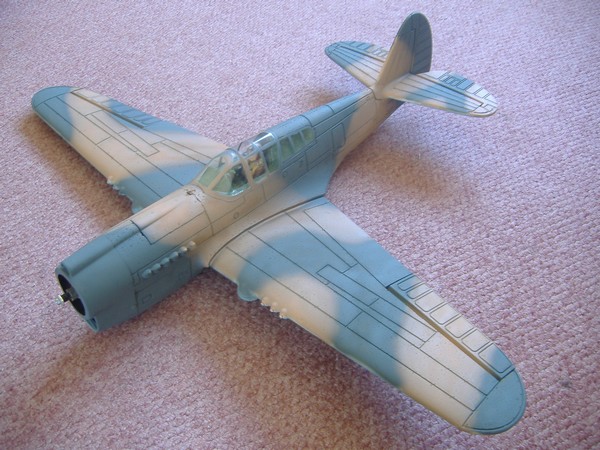
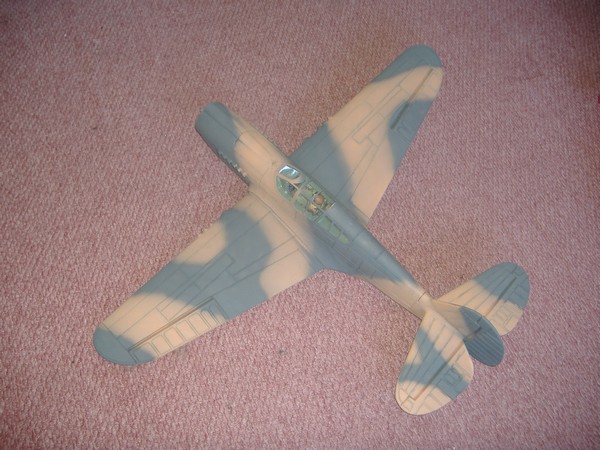
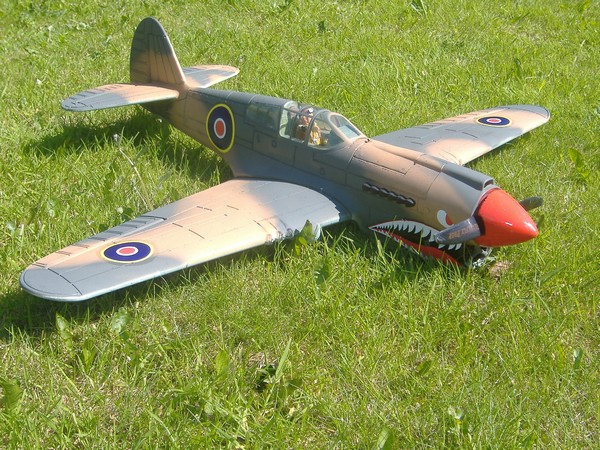
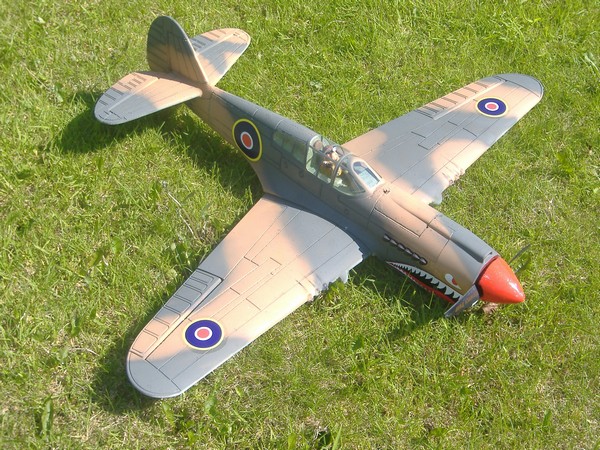
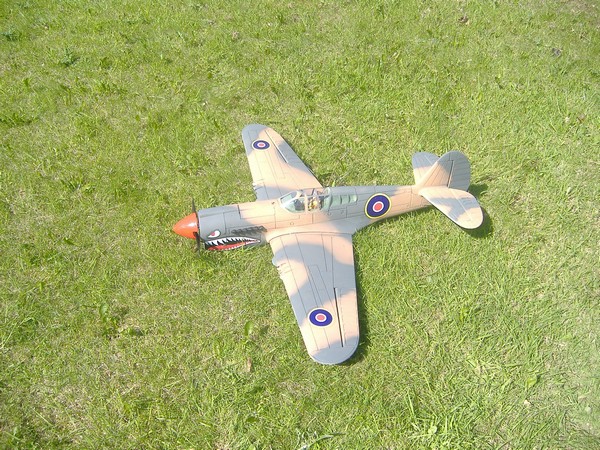
And finally the big day ! I used for the entire plane 1 pot of light blue (underside), 1 of sand, and 1 of olive gray.. That's all ! Thanks to the airbrush, you really use very little bit of paint! No waste.
Always start with the lighter colour first! You know when you have used enough paint to cover the area using the shadowing effect as a guide! You should still be able to see the black/darker colour on the panels... If you can't see them anymore, too much paint! But all went good, and I think, for once, the photos don't do justice to the model and the overall effect...
You need to remove the masking tape for the canopy with a knife before they dry!
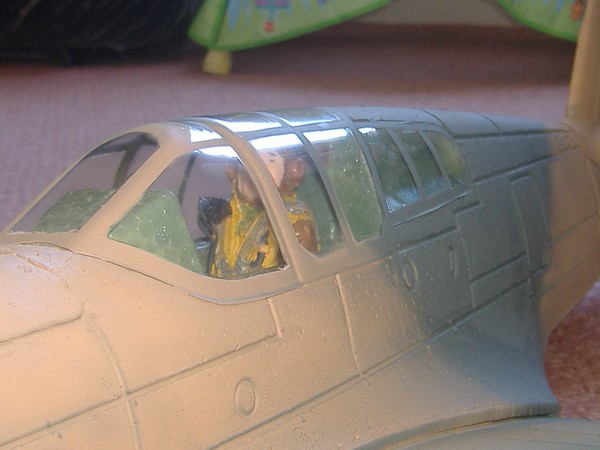
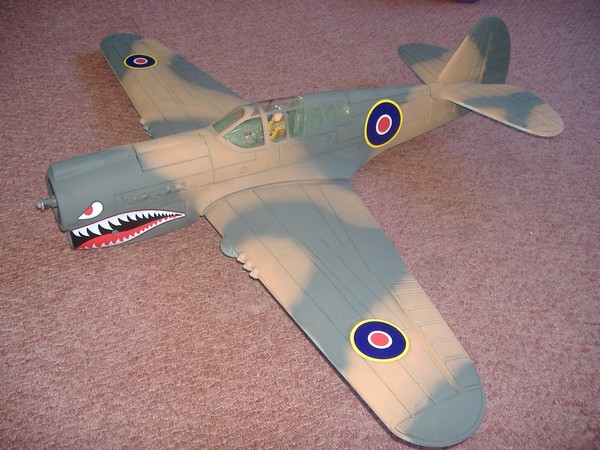
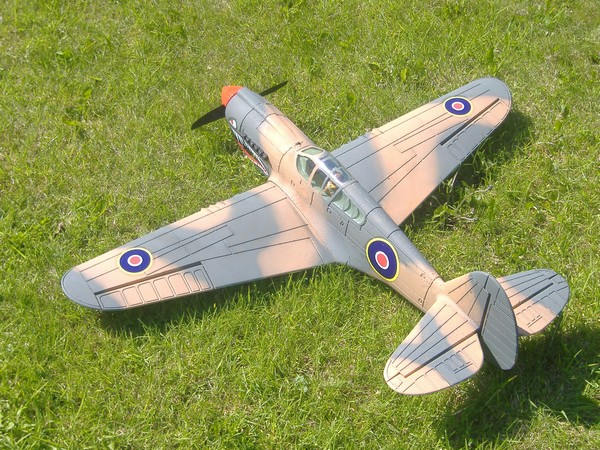
Et voila! Ready for the stickers !
The decals now... Well, they do look nice, but they are really rubbish! They don't really stick, cracks when you sneeze... But I managed to put a few without destroying them, and to protect them, I had to put a small layer of clear varnish on them... Shame as that do a shiny spots on the wings now ! I just have missing the registration number, but I can't really use the decals, I will have to make proper stickers or decals instead...
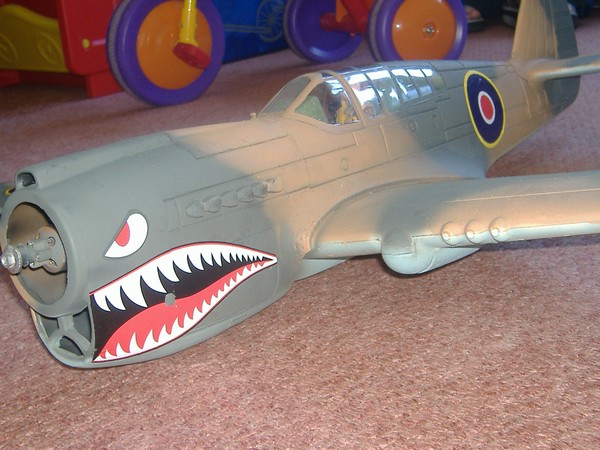
And in the garden, ready to fly... The nose cone is the GWS one, provided in the kit... But I cannot get it balanced at all! But locally found a plastic one (Robart) the exact same size! So I will use that one instead, just have to paint it red now!
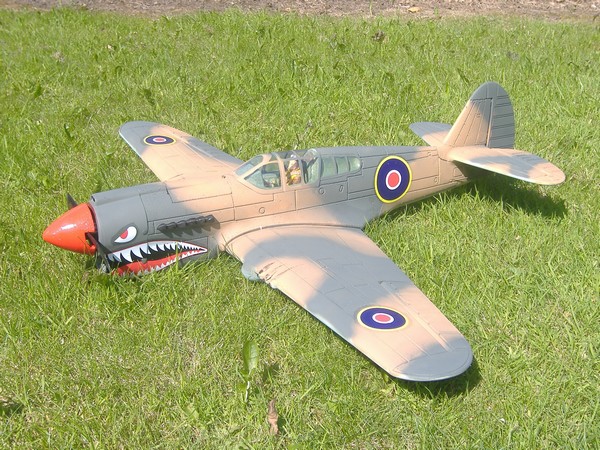
Really happy with this build and the end result!
Haven't flown it yet (26th of May) but that should be soon! Stay tuned for more!