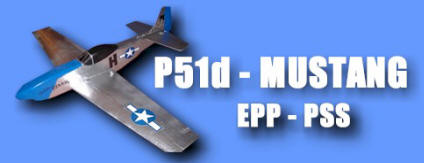

So, here we go again, but
this time with something a bit more relaxing !
I can't really stay long without building something, so this time, that will be
a PSS !
This is a 1.20 mtrs full EPP PSS kit that we are selling at the shop
(http://www.islandmodels.ie for those who don't know !)..
The kit :
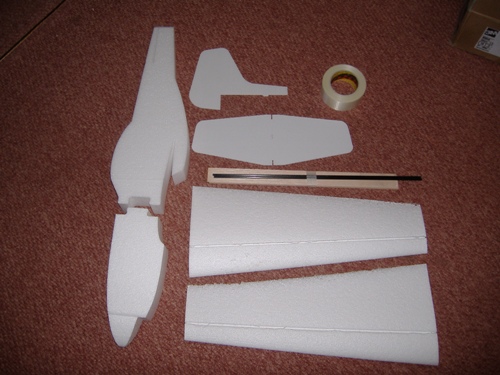
First thing to do, is to give the dihedral to the wing
by sanding the wing root on a sheet of paper flat on the workbench. Easier to do
it than explain !
then, everything is glued with PU glue, and the parts hold in place with tape.
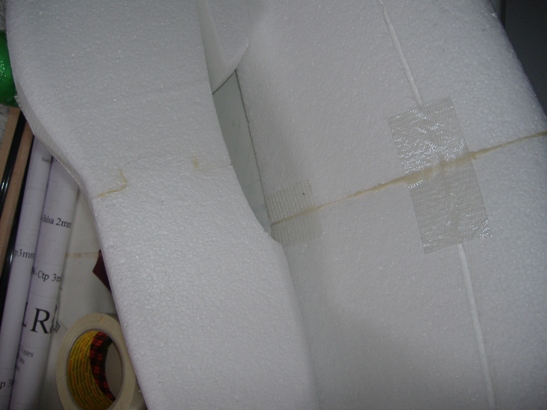
I'm not going to tell you how to shape EPP, just to do
it outside !
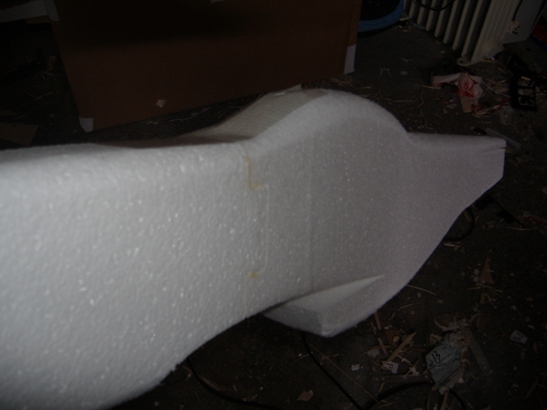
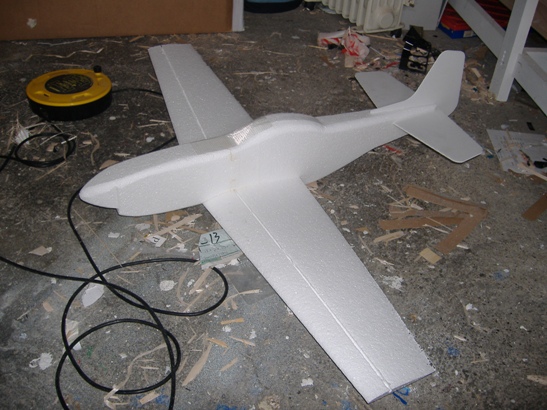
Then, just to have a look, you can put everything together for the first time
(the elevator/rudder in coroplast are just slotted together)
The wing spars are made of 6mm Carbone tubes. Both are
glued with PU glue in the slots already cut in the wings. They don't like
together in the middle, as this part will be glued to the fuselage, and that
will be strong enough !
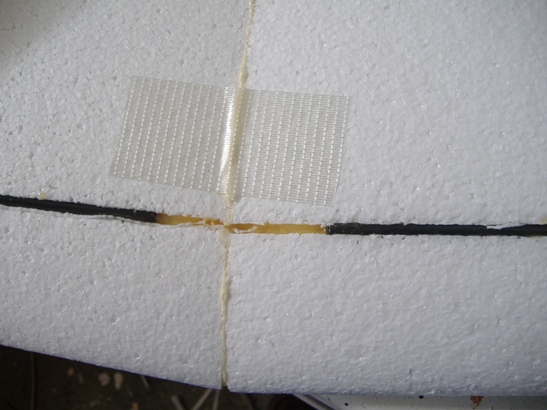
And a strip of tape is put on it, to stay flat when the
PU expand.
The ailerons are made of profiled balsa. The first job to do is to trace them on
the wings, then cut it with a razor blade.
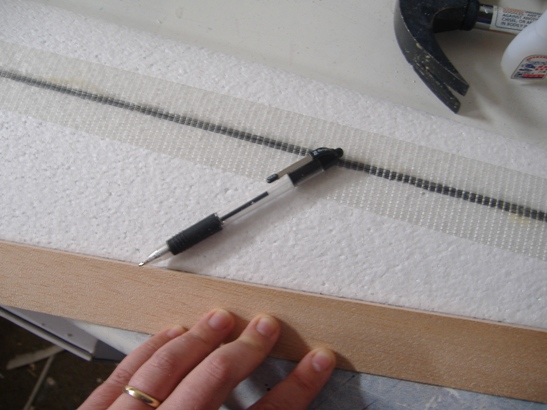
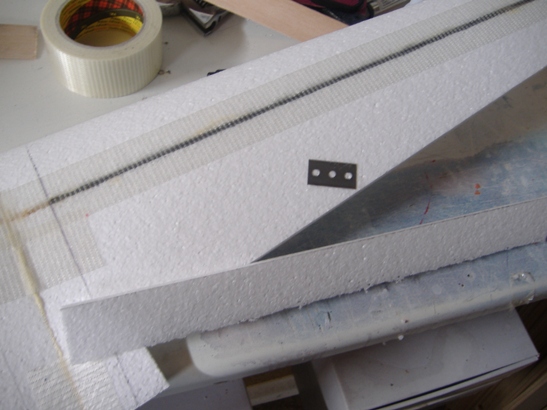
And everything is held temporarily with tape.
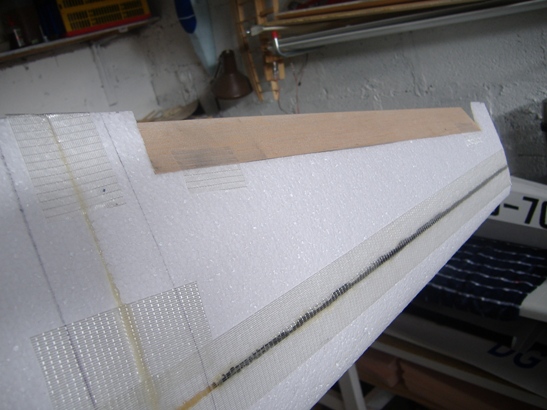
Well, you can put everything together again and admire
the plane that is taking shape !
The wing is then entirely covered with reinforced tape.
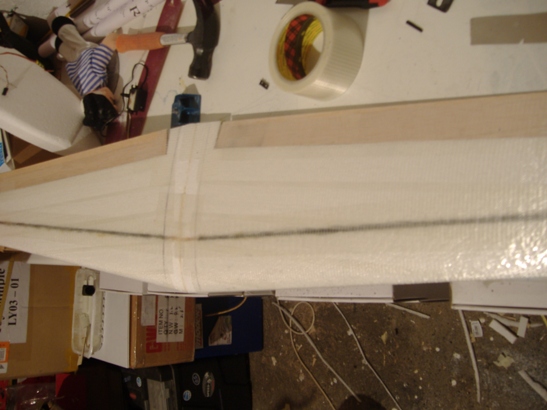
My plan is to primer the plane before painting... That
is not going to hold long in combat, but I can do a nice scale scheme the time
it will last !
Next "big" job are the servos.
I'll put 3 on the plane.
2 for the ailerons, and one for the elevator (no rudder).
All the servos are standard size.
Lots of options are possible for the servos position. For my ailerons, I'm going
to put the 2 servos flat on the top of the wing in the fuselage. Luckily enough,
the 2 servos together are the exact width of the fuselage !
A bit of prep work, and you can start cutting !
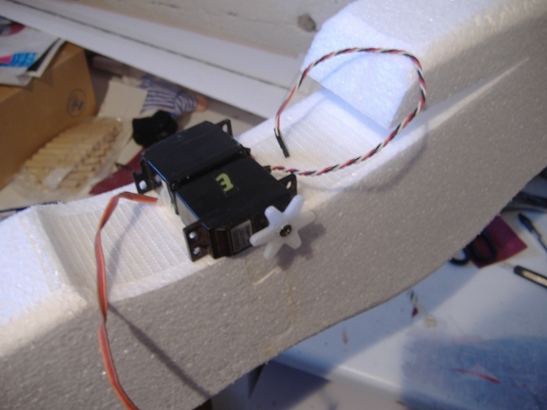
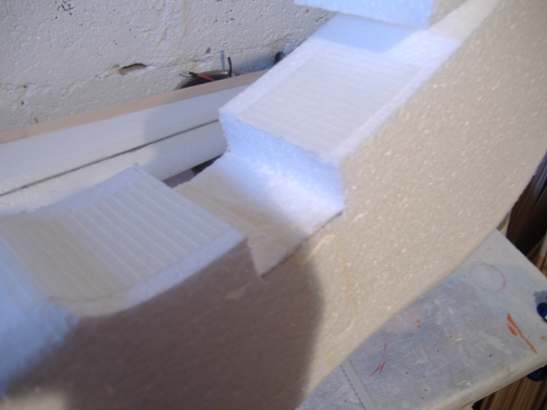
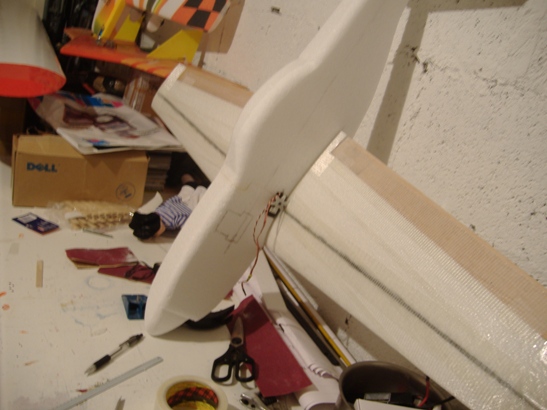
The servos are then glued with cyano glue.
And that's it for today ! From the first cut to this stage, I spend 1 hour...
Here is how to
make an integrated articulation for the stab... 10 minutes of work !
First, trace the fuselage reference and the elevator on the coroplast
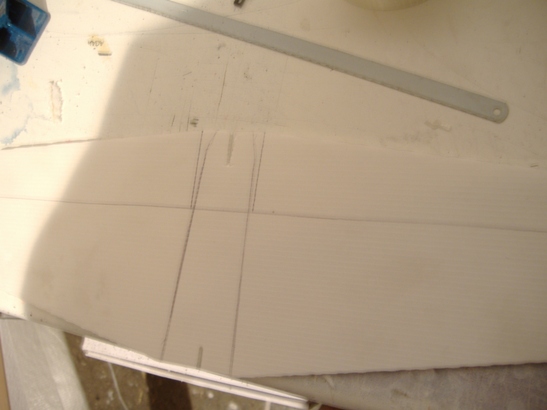
Cut the elevator, the perpendicular side first. I left
a 2 mm gap to allow free movement once covered in tape
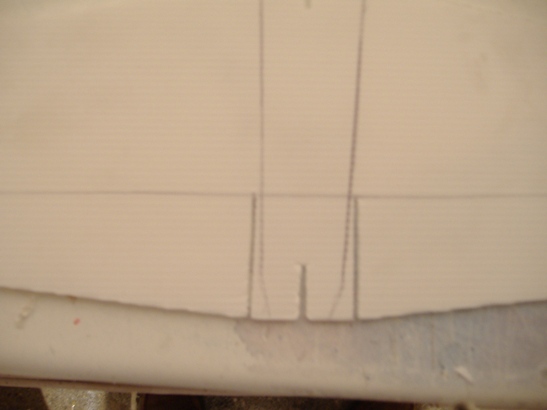
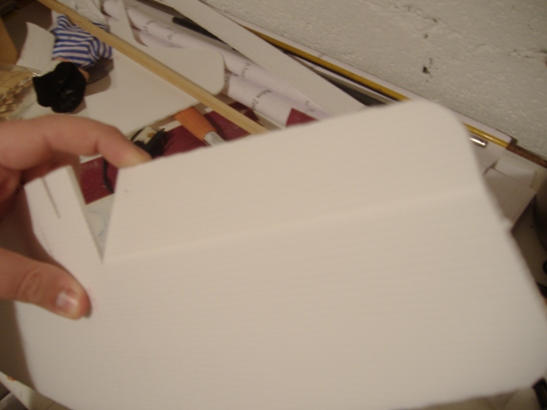
Now cut the elevator... The trick here is not to cut
all the way through but just cut the upper "skin" of the coroplast coroplast !
Bend it several times to make it more smooth to the movement, and then, you can
trim what is left of the "skin" with a razor blade.
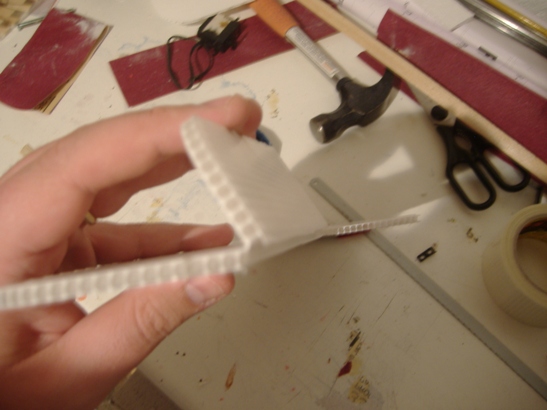
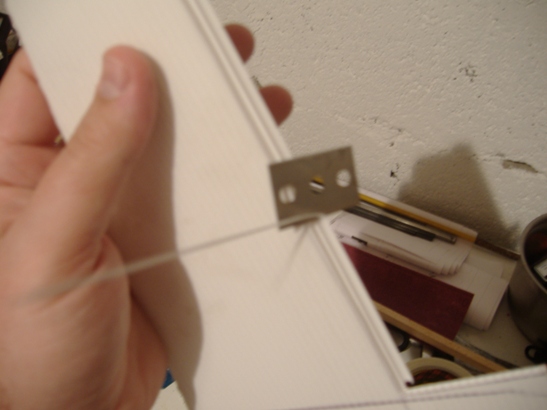
Et voila ! No tape needed to do the hinge, and
perfectly smooth elevator !
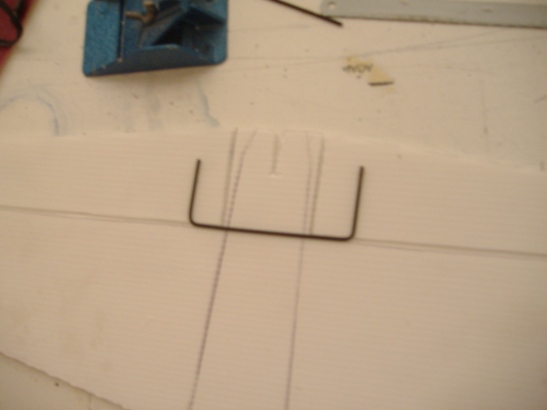
The "U" to assemble the 2 elevator is made from a scrap Bicycle spoke (I use
them to do my pushrods...)
All glued with fluid cyano...
And the result :
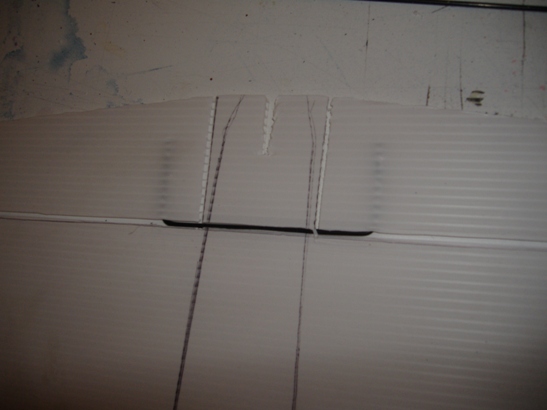
All integrated to the elevator ! :)
For the radio,
place the component on the fuselage side, and trace the contours with a pen
(roughly). Do "canals" for the servos wires and the snake pushrod.
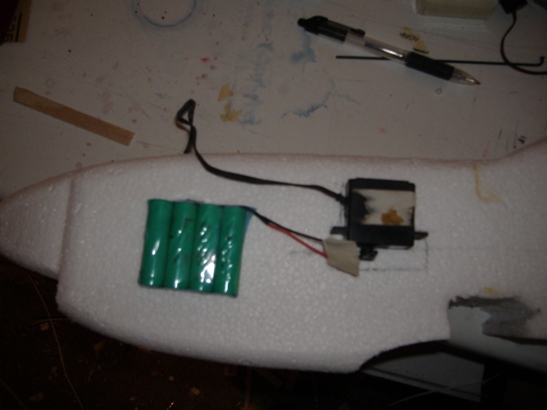
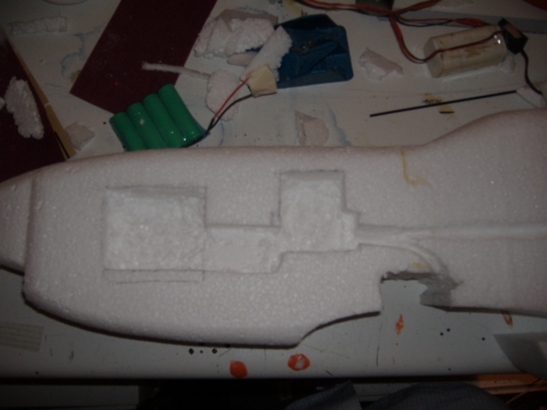
And everything is fitted inside. Everything will be
invisible, except for the 2 servos harms for the ailerons...
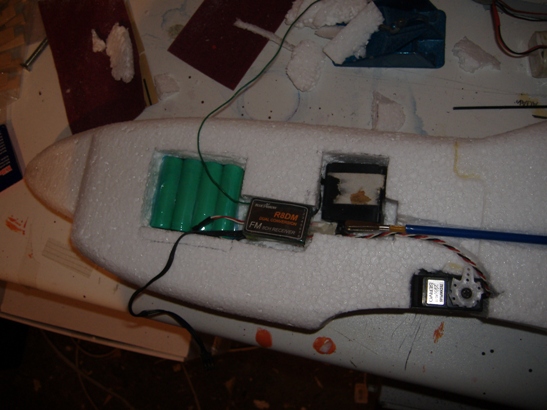
An access hatch made of coroplast will be made later,
to allow access to the battery and receiver.
After a little bit of work, the P51 is ready to fly !
Snow and low clouds today, so I spend my time doing the painting.
The model has been entirely sanded, then I have applied a layer of white primer.
Once dried, I sprayed the model with Silver...
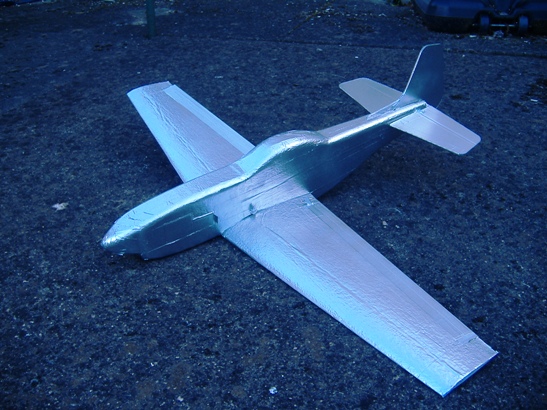
Well, that's shiny !
And I started to do the scheme I'm going for.. Starting with the blue, and
painting the canopy.
I have sanded
the tape until that go to the layer of fibre glass (reinforced tape). Then I
have brushed a primer, relly basic one, in fact, the first one i found in
Homebase ! I'm sure you can find some primer special for plastic, but I
was not going scale on that one, just practical !
Then, the silver is sprayed (can), and the other colours are model paint.
Not sure that is going to hold.. We'll see !
That will be a god test !
But if you want to go more "good looking" and durable, I'll put some vinyl after
I taped the entire plane.. Plastic finishing !
So, here we go, ready to fly !
Just have to put back the aileron's pushrod and launch the thing !
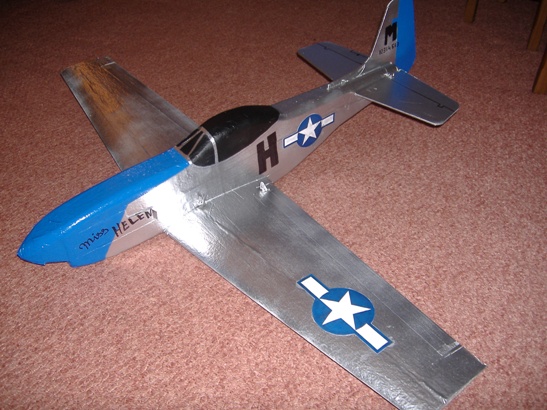
Well, not great, but after all, this is made for combat
!
With the access hatch open :
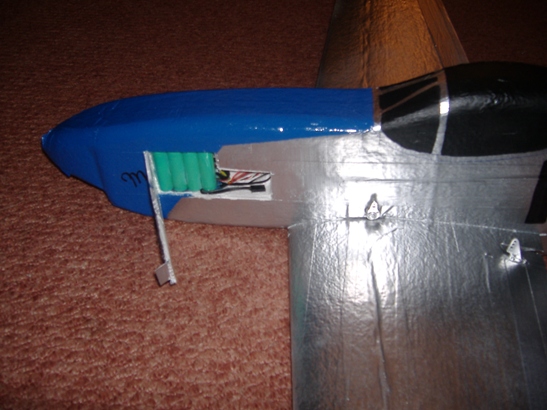
The first flight has been made the 12/04/08 between 2 showers !
Not a windy day, but I gave it a go anyway.. And all went perfect !
Just a bit of up at the elevator (I need to have a proper look at the CG !) other than that, everything else was perfect first shot ! The ailerons are responsive, even at slow speed, so as the elevator. Aerobatics are easy to perform, and good speed can be achieved with the model. A bit of aileron's down, and you have a totally different machine, flying at really low speed, very forgiving, so, ideal even in low wind conditions !
In flight/slope photos coming soon !