In August 2009, knowing that I had a few fibre glass projects down the line, it was time for me to get the minimum equipment needed for my new ventures ! One of the piece of equipment needed was a vacuum pump to do nice proper wing sheeting.
In my old club, we made one using a fridge pump and a very complicated system (but ingenious nonetheless using car parts etc etc), and that worked great ! And for a decent price too (nothing to be compared with a purpose build vacuum pump anyway!) Something is sure, is that today you can find electronic valves etc etc for your fridge DIY pump very easily (and cheap) but the problem in Ireland was to find the fridge pump... After a few searches, I remembered that we had a second vacuum system made of aquarium air pumps!
Yep, the thing being, if that blow air, that must suck air somewhere and create a vacuum! The other good advantage, as noted by some fellow DLG guys (like J. Anziani) is that the system, first works great, in silence, and no complicated things around like a manometer, vacuum valves etc etc... Plug and forget ! Also, the system is so cheap (around 20 quids for mine with the shipping...) that you can have several pumps working at the same time, depending of your needs etc etc...
First, you need an aquarium air pump, with an airflow of at least 300L/Hrs. The more, the better of course. Ebay is a great source for all sorts of pumps, the only type you have to take is one that works with valves.
So, here we go !
Photos are worth a thousand words as they say !
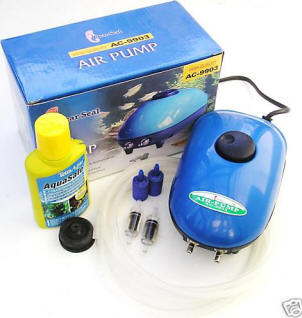
Here is the pump, out of the box ! You just keep the tubing and the spare valve...
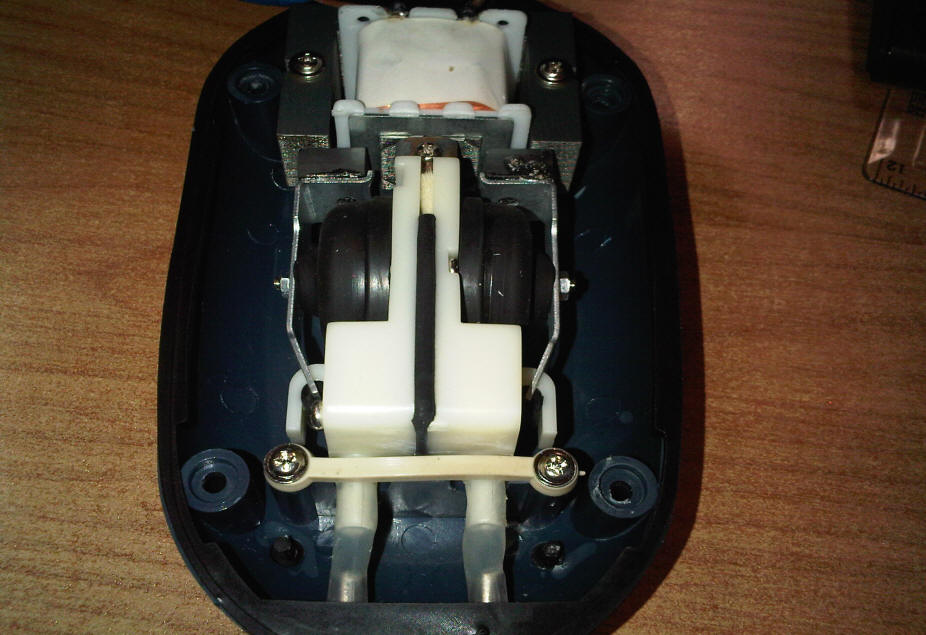
Time to open the pump. You can see the mechanism for the pump. The valves are working 2 ways, sucking / blowing. This is the parts you have to tweak to reverse the ay they are working.
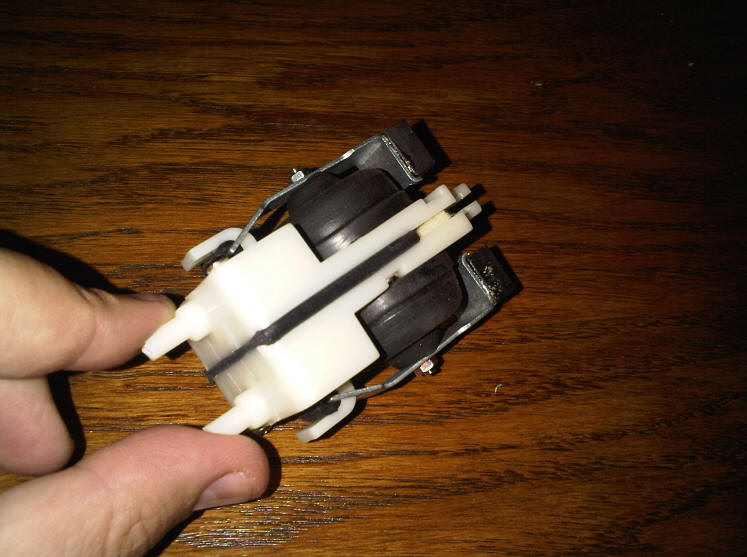
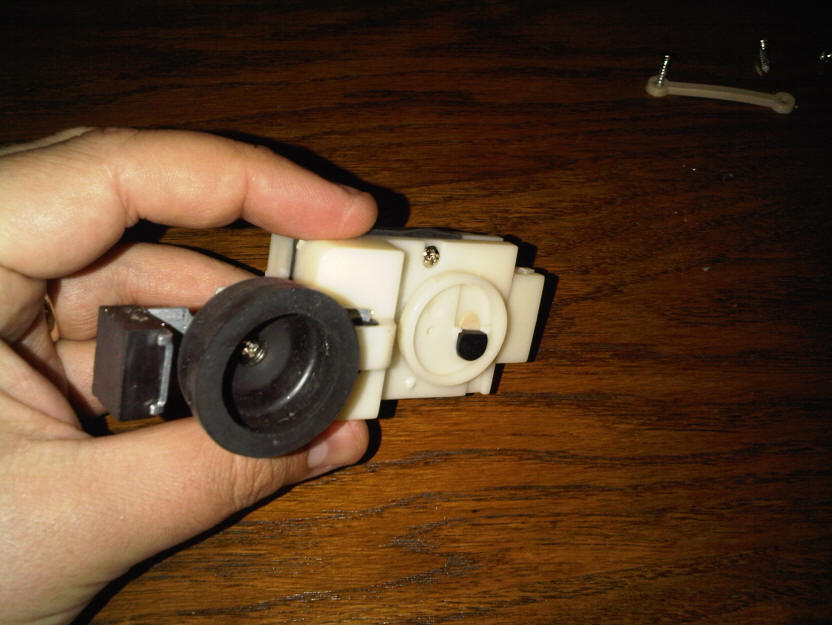
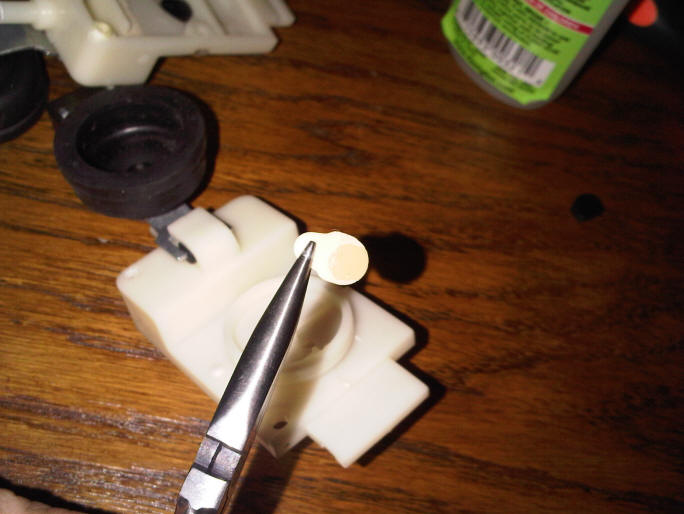
Here is what interest us. On some models, you just need to swap the entire block around, and the system reverse, but on some models, like this one, this is done by doing a swap of the anti-return valves (the light brown things, held in place by the black rubber). So, take down everything to give you access to the inside of the system...
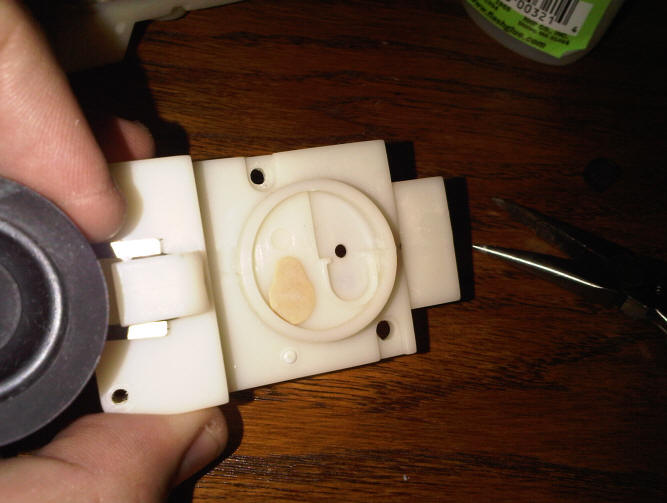
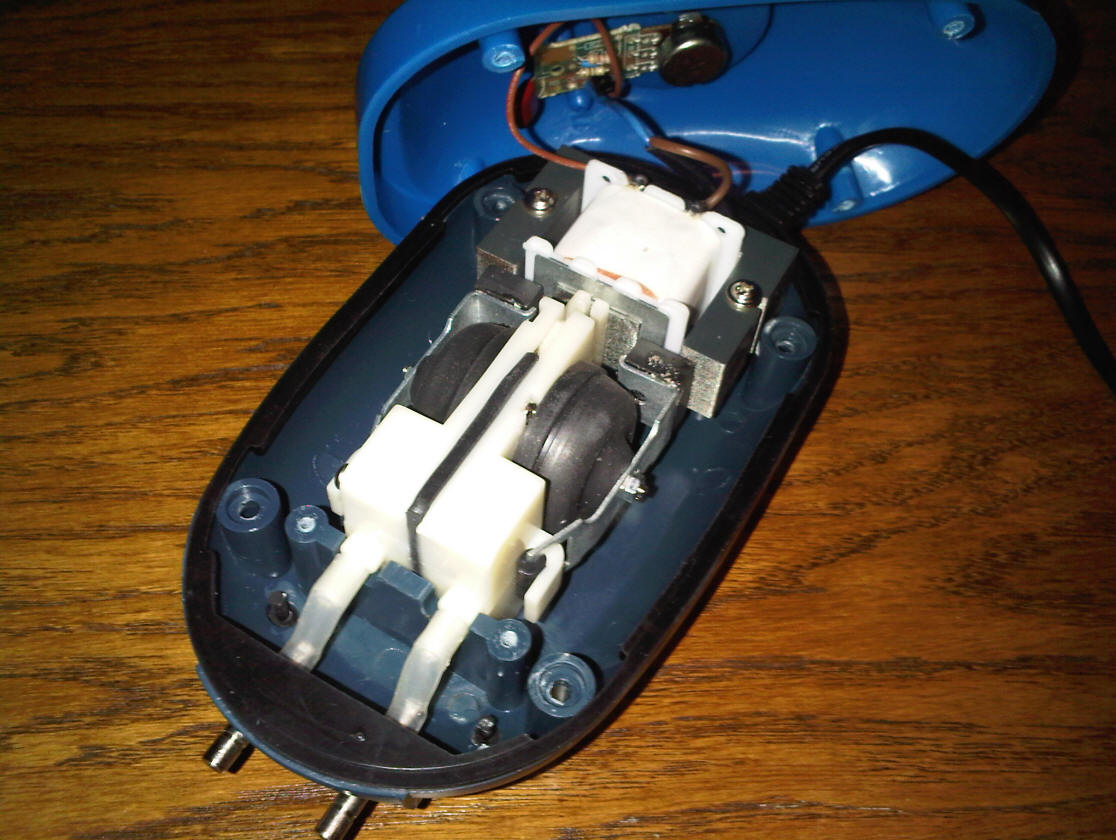
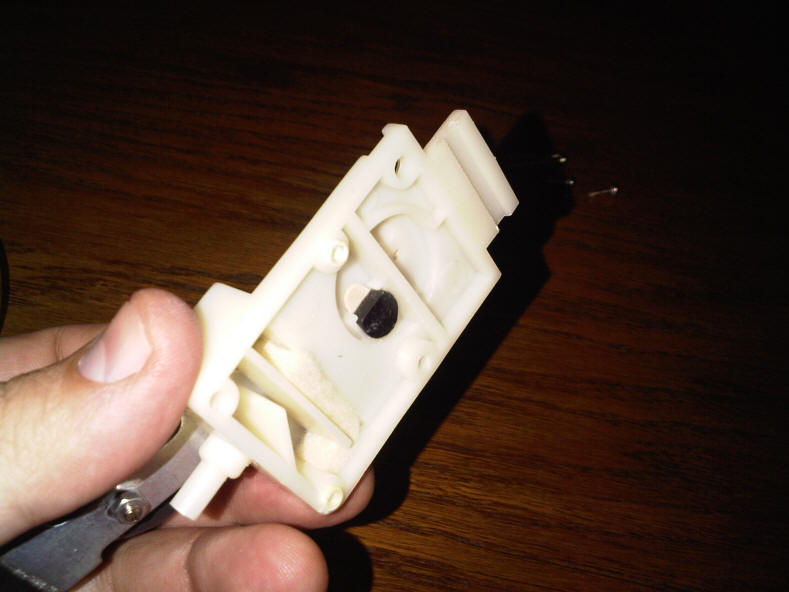
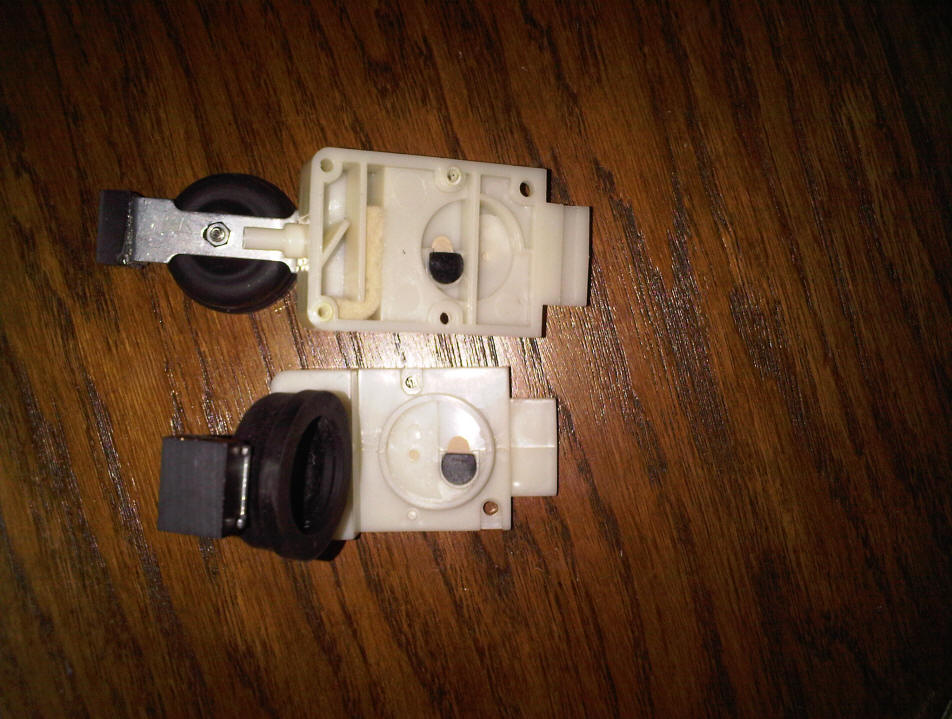
And now, the easy thing to do, is basically invert everything ! The anti-return (sorry, don't know how you call that... but photos are clear enough I think!) that was on the right, goes to the left and same for the other side ! I glued them with a small drop of CA, just make sure you don't put too much and that the leatherish thingy can move freely to obstruct the hole when the air is blowing / sucking!
And that's it !
Put everything back together, making sure the system is perfectly air tight (you can add a bit of silicone if needed.. Mine had a rubber seal all around the mechanism, plug, and the pump is now sucking air !
All that after 2 minutes work !
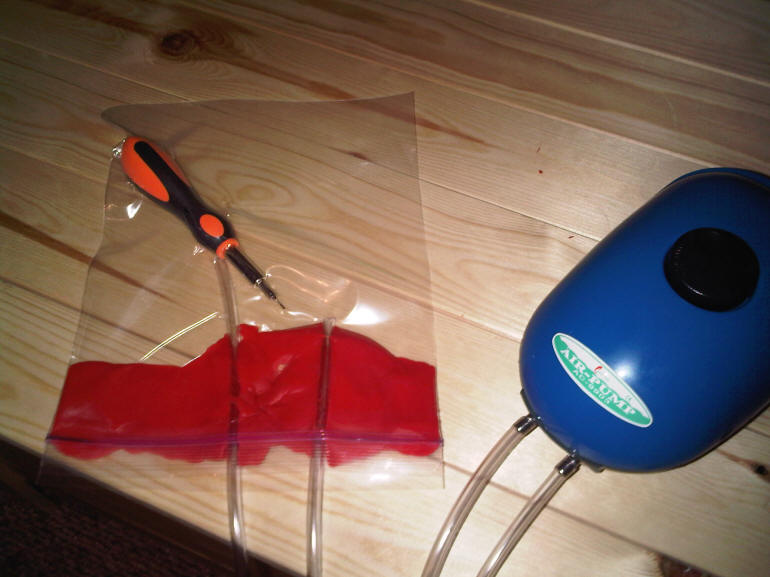
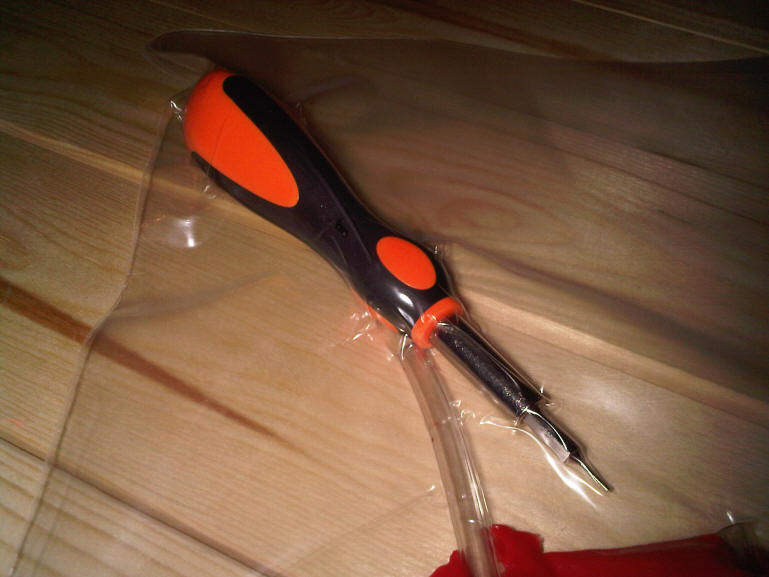
Time to do a quick test... I used a sandwich bag, seal is done with... Daughter's Playdo... :)

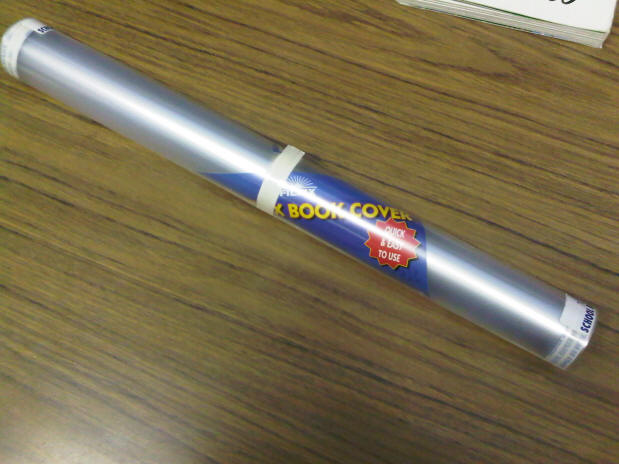
For the vacuum bag, you can use PVC sheets that you can find on your local DIY shop (sheet size are roughly 6x2m...) used for plants tunnel, or for small pieces, like a stabilisator, plastic sold in rolls to cover book !

Also note that we had some really good results while making bags, to seal them with brown packaging tape !
Roll the borders once or twice over, and tape. Simple, and cheap !
The good thing with an aquarium pump, is that they are designed to run 24/7 ! Plug, and come back when dry !
Any questions, or more details, as usual, contact me!