![]()
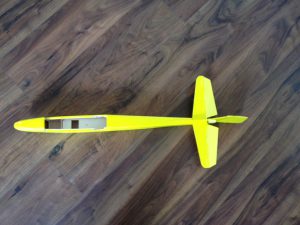
Following the design / build and flying of the Micro Quark, I had a brain wave (That does not happen too often, so had to jump on the occasion!) and decided to use the same “platform” as the Micro Quark, but with a scale twist.
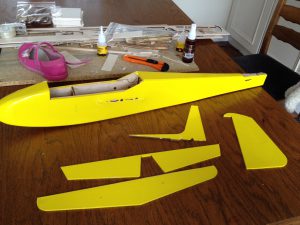
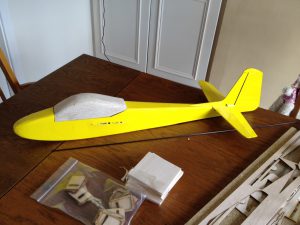
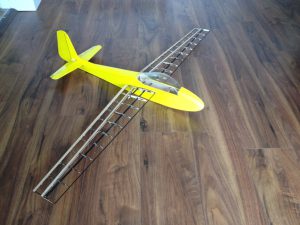
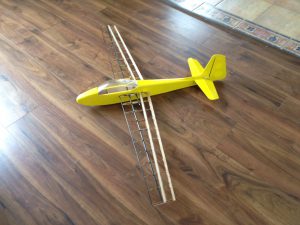
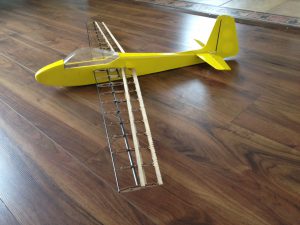
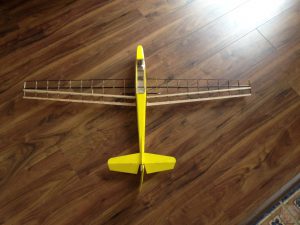
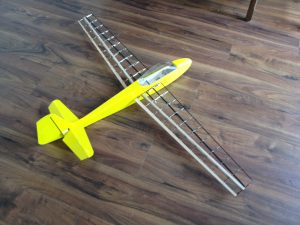
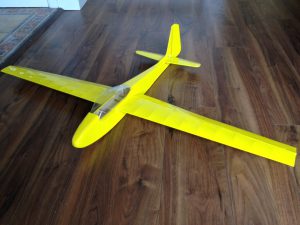
I decided on the Lunak as I always liked the look of it, and if it flies half as good as the Micro Quark, that would be a winner! So, back to the drawing board for a quick session. The wings are exactly the same as those of the Micro Quark, so with a set of wings, you can end up with two different models. Just the extra fuselage to build if you already have a Quark. Laziness at its finest! Quick design, as this is basically a rectangular box in the shape of a Lunak. So, if you already build a Micro Quark, build the fuselage, and off you go! The Micro Lunak is of wood construction and is designed for four servos, five if you go with a towhook! So, here we go!
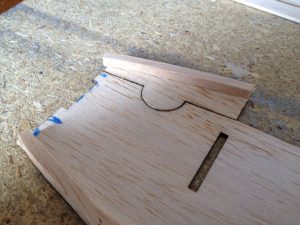
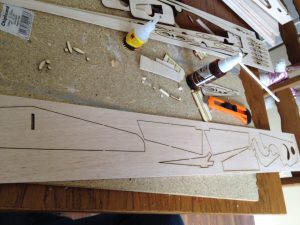
The fuselage sides are cut in 2mm balsa, and 5x5mm balsa strips are glued all around the edges. (See plan.) Careful, there is a left side and a right side! (The one who never made the mistake throw me the first sheet of balsa!)

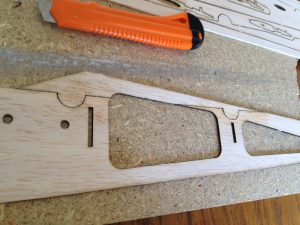
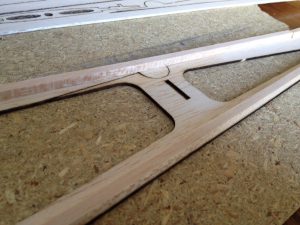

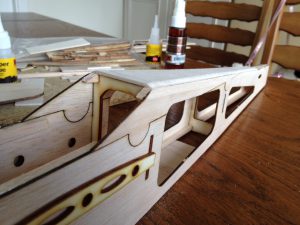
Then the formers C3 and C4 are glued, followed by the servo tray – 9 gr servos should be a nice fit. Adapt the opening on the plan to whatever you have of course!
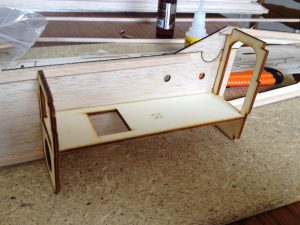
The other side of the fuselage can then be put in place making sure everything is straight and true.
The other formers are then glued in place, constantly making sure everything is straight and level! Fuselage is built “in the air.” Make sure the fuselage ends are parallel and level, and you should be all OK.
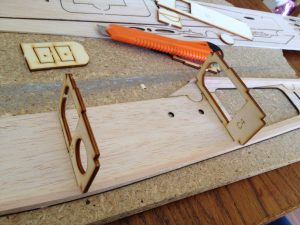
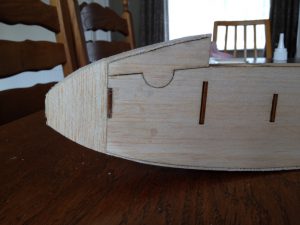
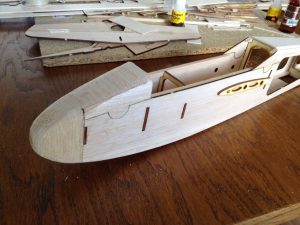
The fuselage top and bottom are then sheeted in 2mm balsa.

You can also prep the elevator / rudder (in 3mm balsa) to be ready to fit after the sheeting. Nothing serious there.
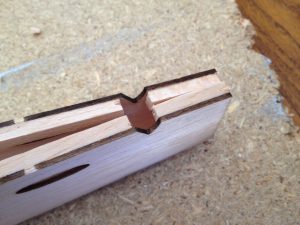
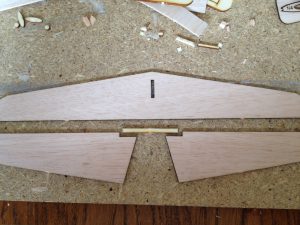
The two elevator halves are linked with a piece of 3mm plywood. (See plan.)
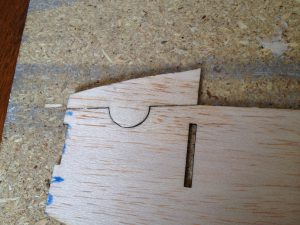
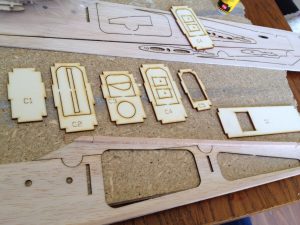
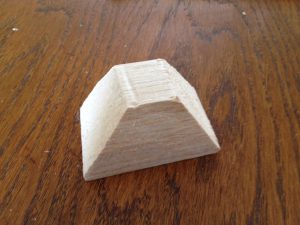
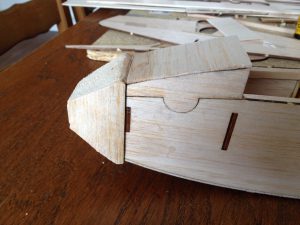
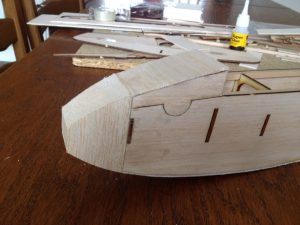
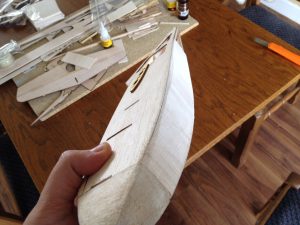
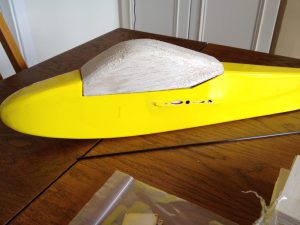
The nose is then roughly shaped in form from a block of balsa, glued on C1, then sanded with the fuselage to have a nice, smooth “roundy” finish.
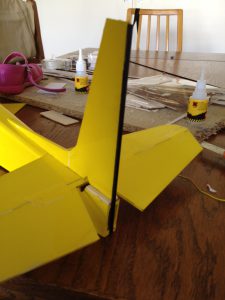
At this stage, you can start to cover the fuselage and the sub assemblies (fin and rudder, stabilizer and elevator, etc). Once covered, articulate the elevator. I used the covering in my case. Small hinges or tape can of course be used. /!\ Before articulating the rudder, rigidify the fin by gluing a 3mm carbon tube at the TE first! (See plan.) /!\ Once the rudder is articulated, you can then glue the fin to the stabilizer, making sure you have removed the covering where the glue should go on both pieces.
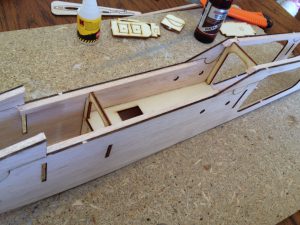
The entire assembly is then glued to the fuselage making sure everything is square and straight.
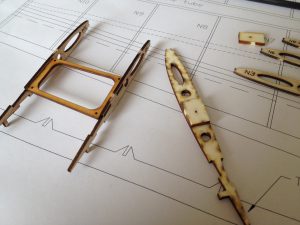
The canopy can be made of wood like the Quark, but for the scale look, I went transparent. And here is how I did it…
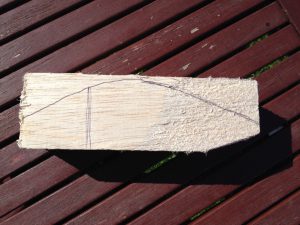
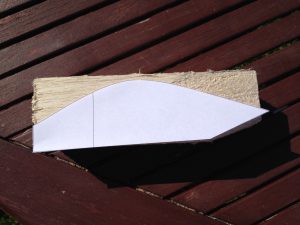
The profile of the canopy is cut from the plan and used as a template on a block of balsa (or any other hard wood).
Everything is painfully sanded to the final shape, making sure of its symmetry and that it fits nicely on the fuselage. Once you are happy with it, go to the shop and buy a big bottle of water / Coke, soda, etc. You even have the choice of colors! Take the biggest one!
Cut the end of the bottle open and put the canopy plug in it. Must be a very tight fit, so you can add some scrap wood inside to “push” the plug to the bottle. Then simply heat the whole lot in the oven, or even better, with a heat gun. Go slow, and magic, the bottle shrinks nicely around your plug.
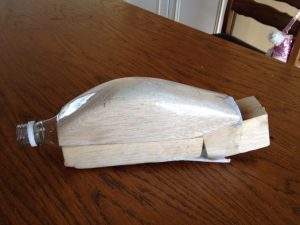
Once down and cooled down, cut the canopy “et Voila”! Of course, not all that is needed if you have your own vacuum forming machine! You can then glue the canopy on a balsa base, do a full cockpit interior, etc.

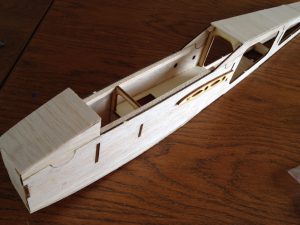
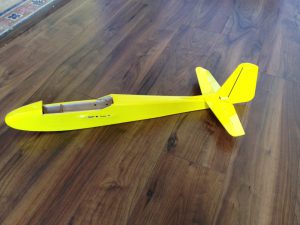
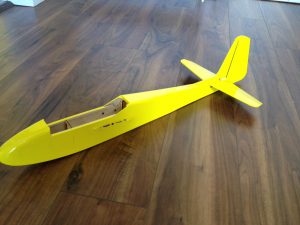
And we are done with the fuselage!
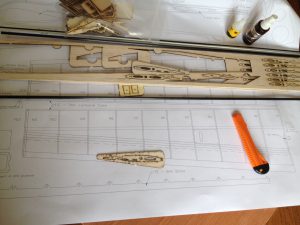
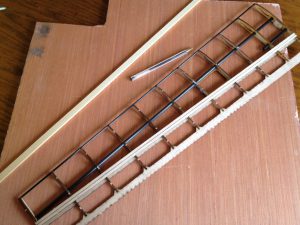
Nice warm up, just in time to start the “piece de résistance,” the wings! (Ta ta ta taaaaaaa!!!) Careful now, this is the “hard” part of the build. The ribs must be manipulated carefully. They are small and can break if not careful!
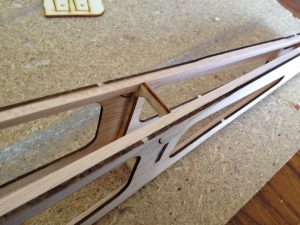
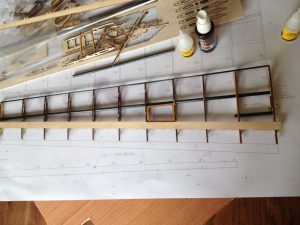
All the ribs are cut. The “sub assemblies” are done first (N1 Insert, servo support). The spar in 6mm carbon is then cut to size and all the ribs are slid onto it… In the correct order! Nothing glued yet. Everything is put on the plan, upside down (the rib tabs will keep everything straight), the ribs properly spaced as per plan, and fluid cyano then keeps everything in place. Simple!


The LE in 3mm carbone tube or rod is then added.

Followed by the balsa strip, in 2mm balsa for the aileron.
At this stage, the wing is rigid enough to be removed from the bench, turned over, and the top balsa strip is then glued in place. The TE in 2mm balsa is then also glued in place, making sure it “follows” the profile all along the wing span.
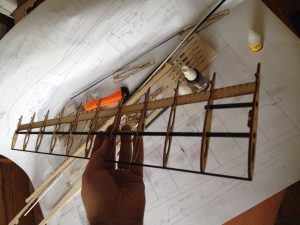

A dry fit can then be done, making sure everything is straight. And a bit of auto-satisfaction on a job well done cannot hurt!
And we repeat for the second wing. Now, for the part where you need nerves of steel! The ailerons / wings separation!
With a big ruler, I traced the middle line of the top balsa piece (see plan), and with a knife with a new blade, slowly, but surely, cut through the balsa and ribs. Go slow, and all will be fine! If you used lite ply for the ribs N1, 2 and 11, the same knife will go through without too much problem. You can also double side tape a ruler and use a small saw to cut the ailerons. The secret is to take your time and avoid shaking! The movable aileron part LE, once detached, is then sanded at 45 degrees to allow movement. You now pass your servo cables into the wing, and time to cover the whole lot! Like the elevator / rudder, hinges can be made with the covering if you are skilled enough, or blenderm-type tape. Or small “proper” hinges. /!\ Careful covering the ailerons! Do not put too much tension as they will twist / bend! Set your iron to colder than it should be, and heat slowly! /!\

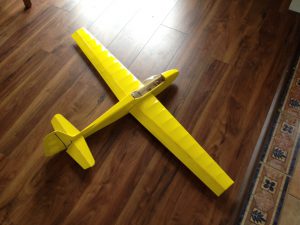
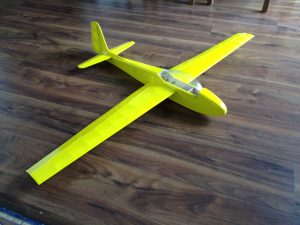
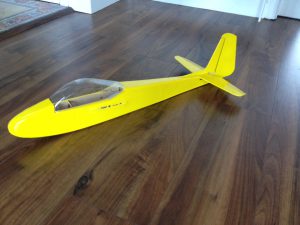
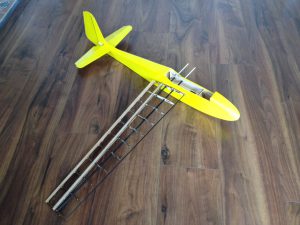
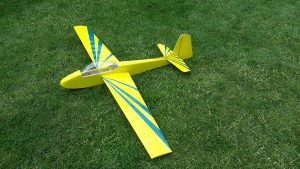
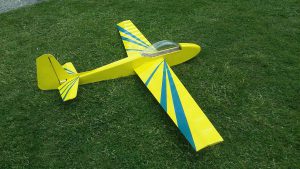
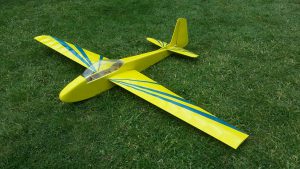
And with a bit of colors. Registration letters are left to do, so as a nice cockpit interior if I get the motivation! And now you can take a break, open a beer, and admire your work. Next, servo installation and we get ready (already!) for the first flight!

At the slope
I did the first flight of my Lunak at the slope during one of our annual meeting in Mount Leinster in Ireland. I have to say, I launched the model with confidence as others flew it before me! But more on that later. As expected, the first flight was a non-event! Like in a magazine, maybe a few clicks on the ailerons and the glider showed its good behaviour pretty much straight away! Wind was about 10 to 15 Km/h but I had no issues going up! So now, it does look good in the air, perform nicely, but those big ailerons are not here for show! In a nutshell, the only limits are the pilot’s skills! You can throw all the moves you know, the Lunak will perform them without any hesitations, but also, and maybe the more important to me, without making you feel it is about to go out of control!